在企業級應用開發中,郵件通知功能幾乎是標配需求。Spring Boot 透過 spring-boot-starter-mail 提供了開箱即用的郵件發送支援,本文將完整示範從依賴引入、配置設定到程式碼實作的完整流程。
在 pom.xml 中加入郵件啟動器依賴:
<dependency>
    <groupId>org.springframework.boot</groupId>
    <artifactId>spring-boot-starter-mail</artifactId>
</dependency>
以 QQ 郵箱 SMTP 服務為例,關鍵配置說明:
spring.thymeleaf.cache=false
spring.mail.host=smtp.qq.com
spring.mail.username=your_email@qq.com
spring.mail.password=your_authorization_code
spring.mail.properties.mail.smtp.auth=true
spring.mail.properties.mail.smtp.starttls.enable=true
spring.mail.properties.mail.smtp.starttls.required=true
封裝簡單郵件發送邏輯,注入 JavaMailSender:
@Service
public class MailService {
    @Value("${spring.mail.username}")
    private String from;

    @Autowired
    private JavaMailSender sender;

    public void sendSimple(String to, String title, String content) {
        SimpleMailMessage message = new SimpleMailMessage();
        message.setFrom(from);
        message.setTo(to);
        message.setSubject(title);
        message.setText(content);
        sender.send(message);
        System.out.println("郵件發送成功");
    }
}
使用 Thymeleaf 模板引擎建立簡單表單:
<!DOCTYPE html>
<html xmlns:th="https://www.thymeleaf.org">
<head>
    <meta charset="UTF-8" />
    <title>郵件發送測試</title>
</head>
<body>
    <h1>郵件發送測試頁面</h1>
    <form action="sendMail" method="post">
        <p>郵件主旨: <input type="text" name="title"/></p>
        <p><input type="submit" value="發送郵件"/></p>
    </form>
</body>
</html>
@Controller
public class MailController {
    @Autowired
    private MailService mailService;

    private String to = "recipient@qq.com";

    @RequestMapping("mail")
    public String mail() {
        return "mail";
    }

    @RequestMapping("sendMail")
    @ResponseBody
    public String sendMail(@RequestParam("title") String title) {
        mailService.sendSimple(to, title, "這是測試郵件內容:" + title);
        return "success";
    }
}
spring.mail.password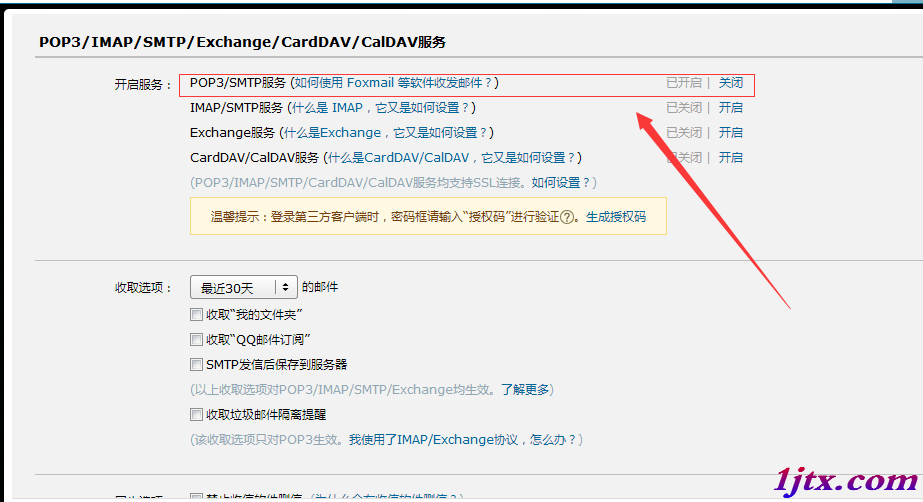
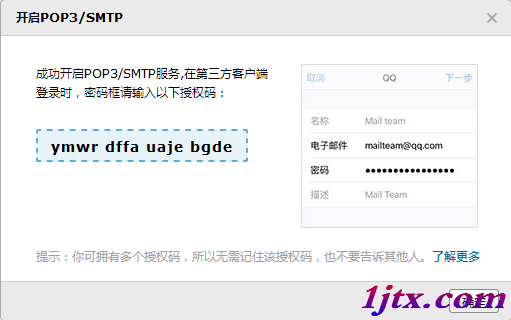
MimeMessageHelper 支援 HTML 內容、附件、內嵌圖片@Async 註解避免阻塞主執行緒掌握 Spring Boot 郵件發送後,可輕鬆擴展至註冊驗證、密碼重設、訂單通知等實際業務場景。