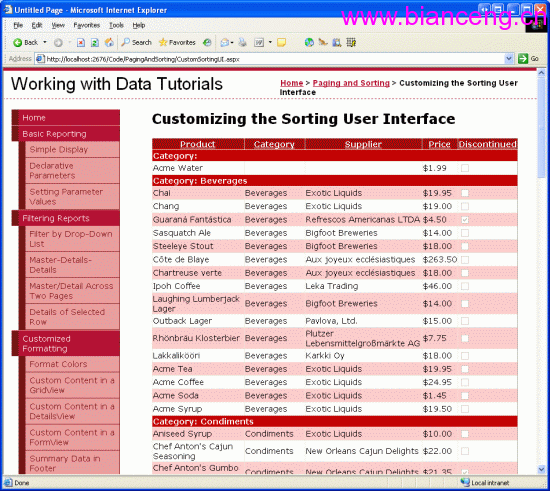
參考 Webmail 介面:每列 CheckBox + 「刪除選取項目」按鈕。本文整合前幾章成果:CheckBoxField (第 52 章) + 事務刪除方法 (第 63 章) 實作批次刪除。
BatchDelete.aspx 與 EnhancedGridView/CheckBoxField.aspx。<asp:Content> 內完整宣告代碼至 BatchDelete.aspx。<asp:Button ID="btnDeleteSelected" Text="刪除選取產品"
OnClick="btnDeleteSelected_Click" />protected void btnDeleteSelected_Click(object sender, EventArgs e)
{
List<int> productIDs = new List<int>();
foreach (GridViewRow row in gvProducts.Rows)
{
CheckBox cb = row.FindControl("chkSelect") as CheckBox;
if (cb != null && cb.Checked)
{
int productID = Convert.ToInt32(gvProducts.DataKeys[row.RowIndex].Value);
productIDs.Add(productID);
}
}
if (productIDs.Count > 0)
{
// 呼叫 BLL 事務刪除方法 (第 63 章建立)
ProductsBLL.DeleteProductsWithTransaction(productIDs);
// 重新繫結
gvProducts.DataBind();
}
}public static void DeleteProductsWithTransaction(List<int> productIDs)
{
using (TransactionScope scope = new TransactionScope())
{
foreach (int id in productIDs)
ProductsBLL.DeleteProduct(id); // 內部使用 TableAdapter Delete
scope.Complete();
}
}批次刪除核心在於:CheckBox 列蒐集主鍵 → 事務包裝逐筆刪除 → 重新繫結。模組化設計讓 CheckBoxField、事務刪除方法可獨立復用於其他頁面。