IBM WebSphere Application Server Community Edition (以下簡稱 Community Edition) 基於 Apache Geronimo,輕量免費,內建基於 JSR-168 的 Web 管理主控台,極大簡化了資料庫連接池、安全域、金鑰庫等進階管理任務,無需手工指令操作。
DB2 Express-C 是免費的混合型資料服務器,支援關係與 XML 存儲,適合開發部署。本節示範從建立資料庫、資料表到在主控台建立連接池的完整流程。
使用 DB2 Command Editor 執行:
CREATE DATABASE student;
CONNECT TO student;
CREATE TABLE student (rollno VARCHAR(30), name VARCHAR(50), dob VARCHAR(40));
若提示資料庫管理器未啟動,執行 db2start。
路徑:Services → Database Pools → 選擇 Geronimo database pool wizard。
點擊 Deploy 部署,Show Plan 可查看 Geronimo 部署計劃 (XML)。
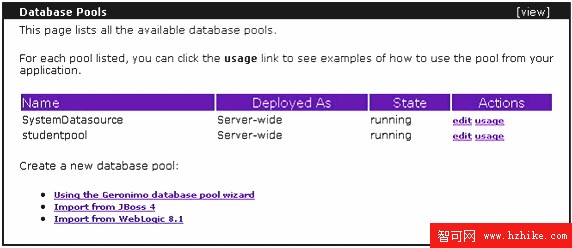
圖2 數據庫池 Portlet
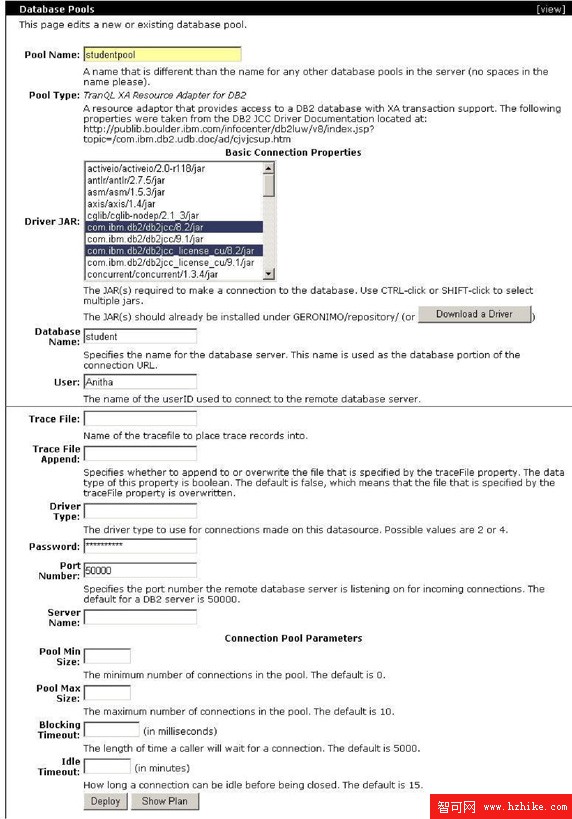
圖3 數據庫池創建向導
Geronimo 部署計劃為 XML 格式,包含模組 ID、依賴 JAR、連線屬性 (JNDI 名稱、驅動類型、連線池大小等)。清單 1 展示完整範例,所有 DB2 連線資訊均在其中聲明。
需兩步驟:
<resource-ref>,類型為 javax.sql.DataSource。程式碼透過 JNDI 查找:java:comp/env/jdbc/MyDataSource。注意資源引用名稱在 web.xml、geronimo-web.xml、程式碼三處必須一致。
安全域保護 Web 應用資源,Community Edition 支援多種後端:屬性檔、資料庫 (SQL)、LDAP、憑證屬性檔、自定義。以最簡單的屬性檔域為例:
在 <wasce_home>/var/security 建立:
username=password 每行一組groupname=user1,user2... 每行一組Security → Security Realms → Add new security realm:
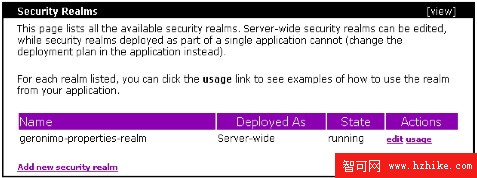
圖4 安全域 Portlet
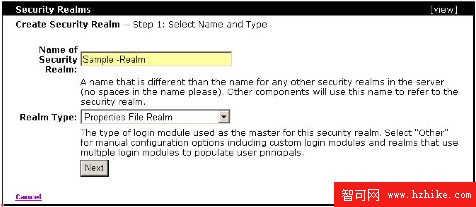
圖5 創建安全域步驟 1
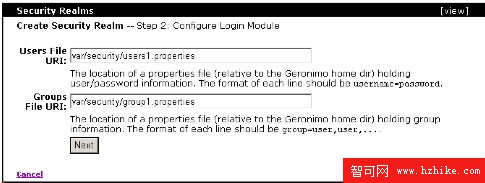
圖6 創建安全域步驟 2
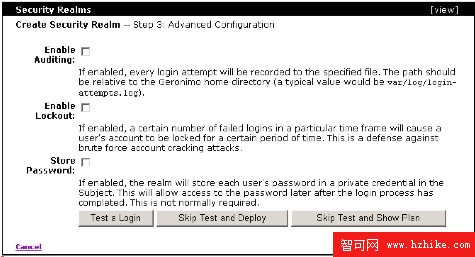
圖7 創建安全域步驟 3
金鑰庫存放加密金鑰與憑證,支援 HTTPS 存取。主控台提供 Keystore Configuration 工具 (Security → Keystores)。
預設金鑰庫 geronimo-default 密碼 secret,路徑 <wasce_home>/var/security/keystore。點擊鎖圖示輸入密碼解鎖 Editable 與 Available 標誌。
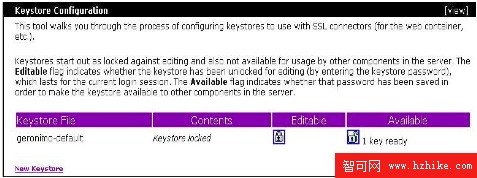
圖8 Keystore Configuration 工具

圖9 解鎖金鑰庫
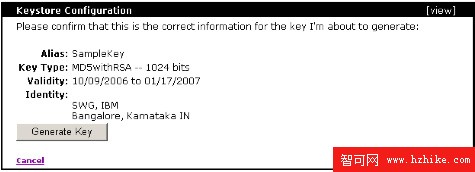
圖10 顯示解鎖後的金鑰庫內容
New Keystore 指定檔名與密碼 → Create Keystore。接著在金鑰庫內 Create Private Key,填寫別名、演算法 (RSA)、金鑰長度 (2048)、簽名演算法 (MD5withRSA)、有效天數 (180)、CN (伺服器主機名)、組織單位/城市/省份/國家代碼。Generate Key 後自動產生自簽憑證。
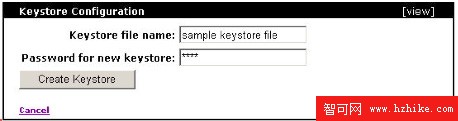
圖11 創建金鑰庫
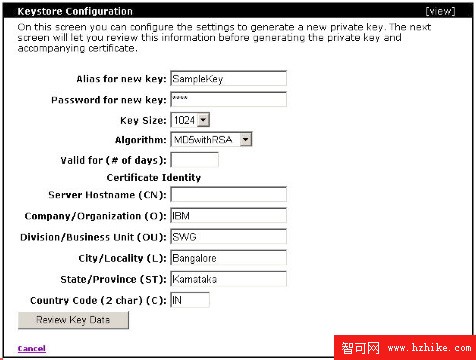
圖13 配置金鑰數據
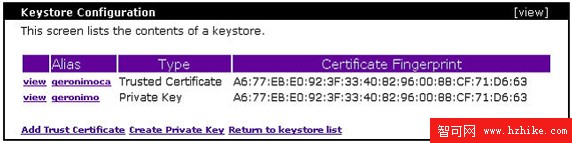
圖12 金鑰庫內容
Generate CSR (PKCS#10) → 送至 CA (如 VeriSign) → 接收回覆 (PKCS#7) → Import CA Reply 匯入金鑰庫。生產環境建議使用受信 CA 簽署憑證。
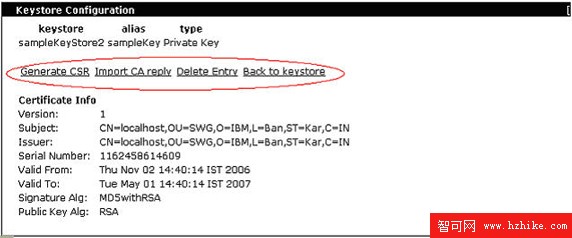
圖15 生成 CSR 並導入 CA 回覆
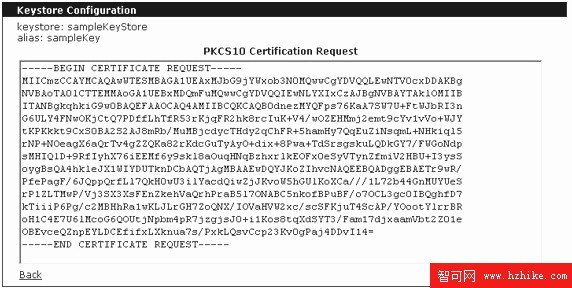
圖16 生成的 CSR
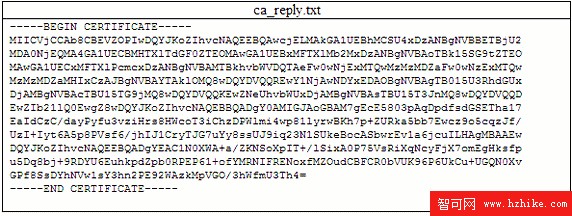
圖17 CA 回覆憑證
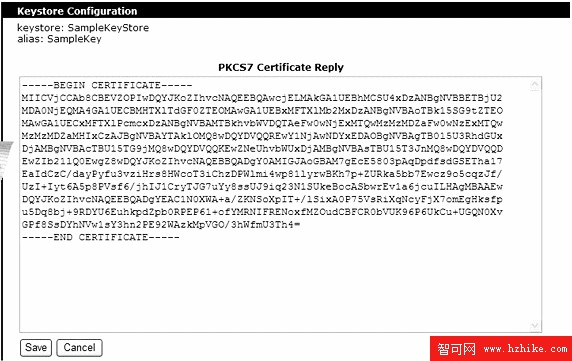
圖18 導入 CA 回覆憑證
Server → Web Server → Add new HTTPS Listener for Tomcat:
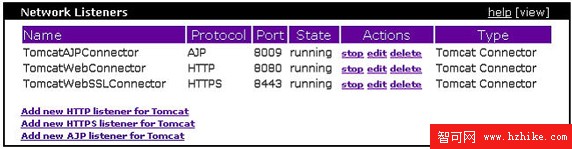
圖19 Network Listeners portlet
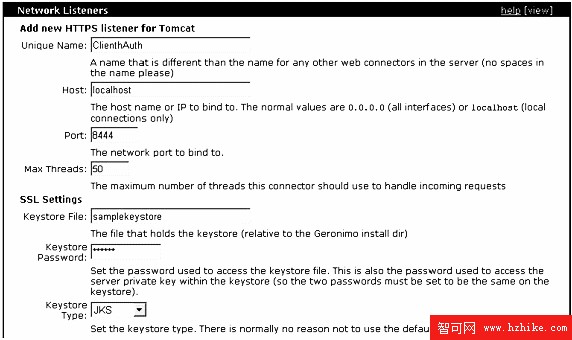
圖20 Add new HTTPS listener for Tomcat
本文涵蓋資料庫連接池、安全域、金鑰庫/憑證管理與 HTTPS 配置,展示 Community Edition 主控台的強大進階功能。下篇將介紹執行緒池統計、Geronimo 外掛與應用程式重新部署等進階主題。