IDEA 輕量、智能、啟動快,是現代 Java 開發首選 IDE。本文記錄從零創建 Spring MVC 項目(無 Maven),配置依賴、編寫 Controller、JSP 視圖、運行驗證全過程。
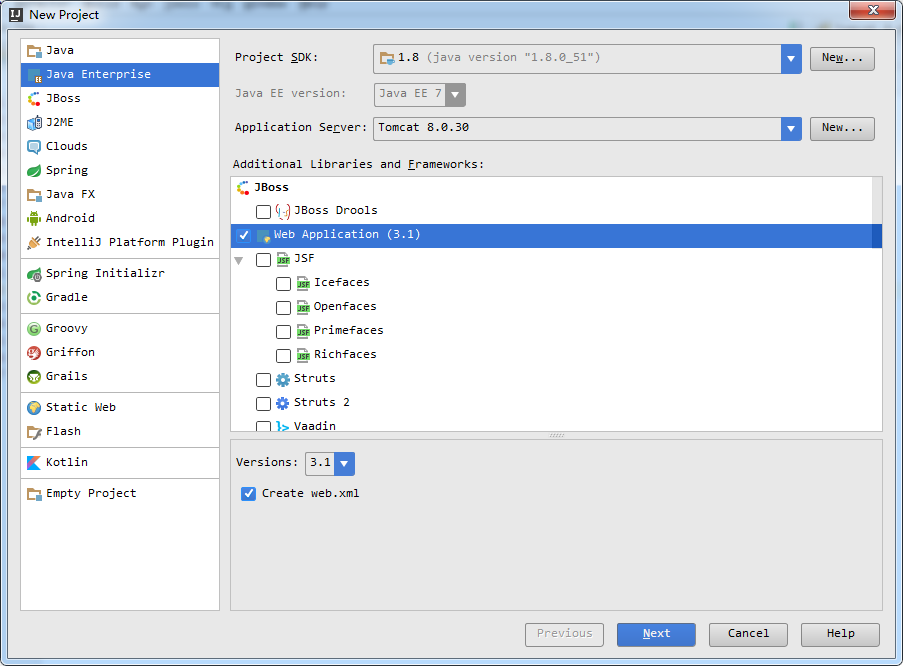
mvcdemo,JDK 選擇 1.8+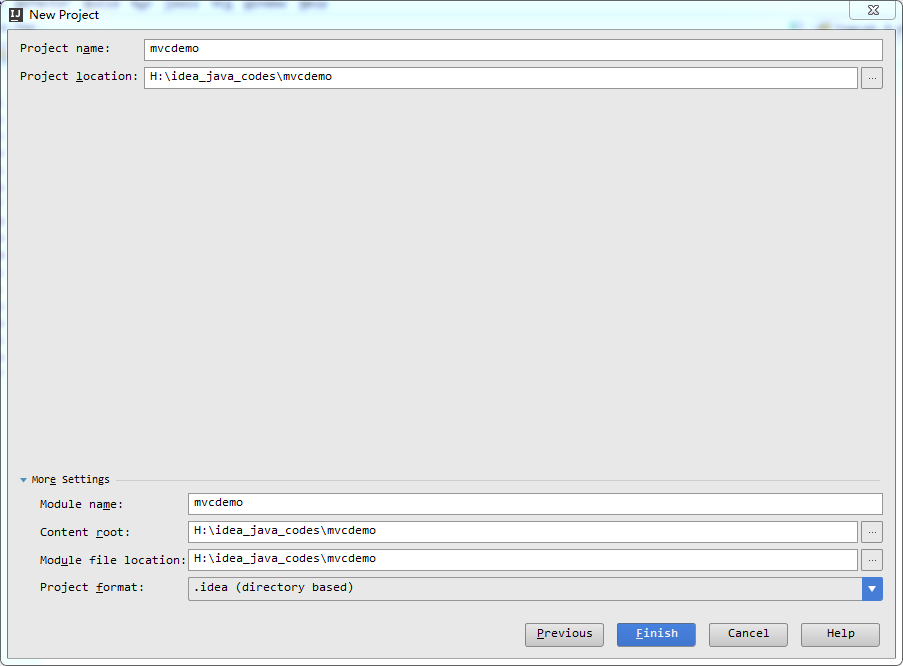
spring-webmvc, spring-context, spring-beans, spring-core, spring-expression, spring-aop, commons-logging 等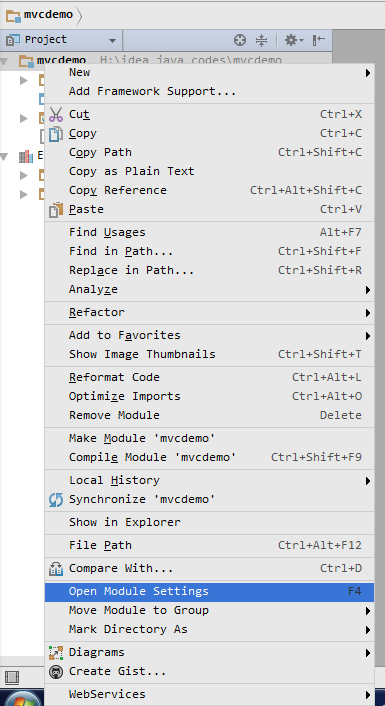
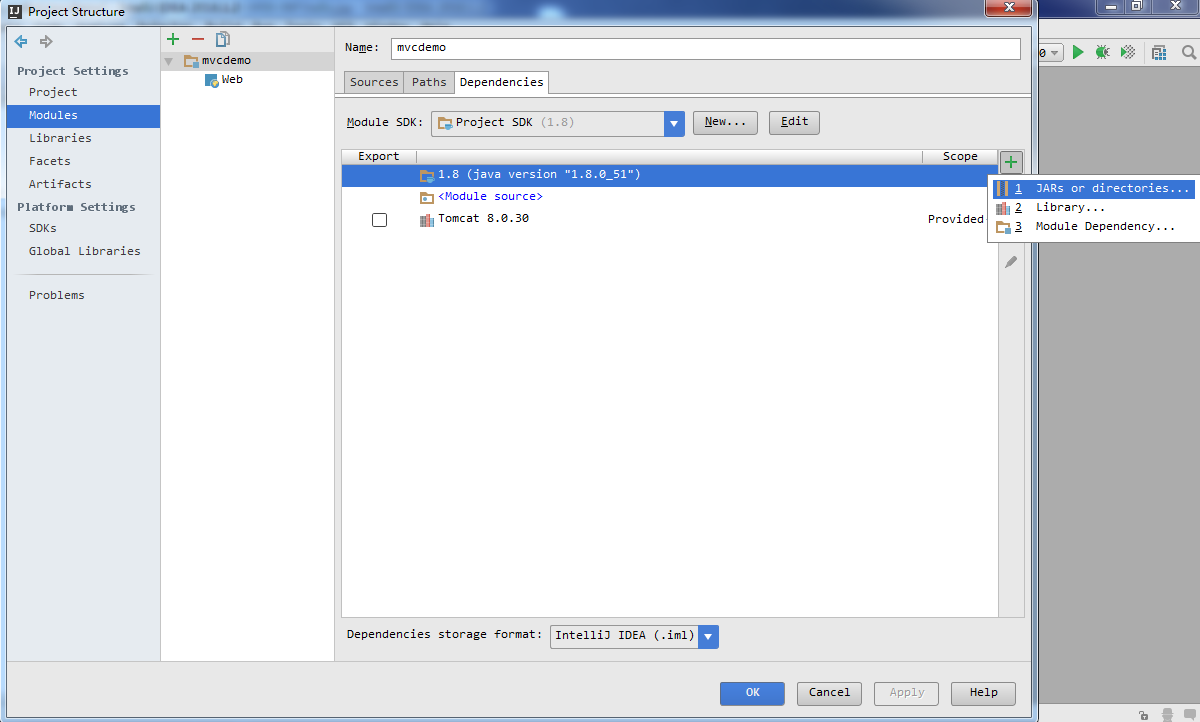
Compile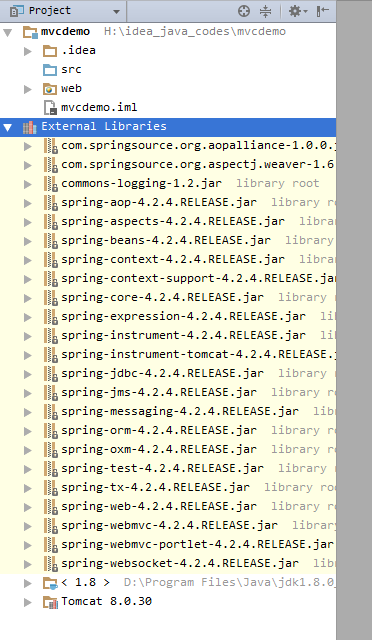
💡 強烈建議使用 Maven/Gradle 管理依賴,避免手動維护 JAR 地獄。
<?xml version="1.0" encoding="UTF-8"?>
<web-app xmlns="https://xmlns.jcp.org/xml/ns/javaee"
         xmlns:xsi="https://www.w3.org/2001/XMLSchema-instance"
         xsi:schemaLocation="https://xmlns.jcp.org/xml/ns/javaee https://xmlns.jcp.org/xml/ns/javaee/web-app_3_1.xsd"
         version="3.1">
    <display-name>Spring MVC Demo</display-name>

    <servlet>
        <servlet-name>mvcdemo</servlet-name>
        <servlet-class>org.springframework.web.servlet.DispatcherServlet</servlet-class>
        <load-on-startup>1</load-on-startup>
    </servlet>
    <servlet-mapping>
        <servlet-name>mvcdemo</servlet-name>
        <url-pattern>/</url-pattern> <!-- 攔截所有請求 -->
    </servlet-mapping>
</web-app><?xml version="1.0" encoding="UTF-8"?>
<beans xmlns="https://www.springframework.org/schema/beans"
xmlns:xsi="https://www.w3.org/2001/XMLSchema-instance"
xsi:schemaLocation="https://www.springframework.org/schema/beans https://www.springframework.org/schema/beans/spring-beans.xsd">
<!-- 1. HandlerMapping: BeanNameUrlHandlerMapping (按 Bean 名稱匹配 URL) -->
<bean class="org.springframework.web.servlet.mvc.support.ControllerBeanNameHandlerMapping"/>
<!-- 2. Controller: 實現 Controller 接口 -->
<bean name="/hello" class="com.luoxn28.hello.HelloController"/>
<!-- 3. ViewResolver: 內部資源視圖解析器 -->
<bean class="org.springframework.web.servlet.view.InternalResourceViewResolver">
<property name="prefix" value="/WEB-INF/"/>
<property name="suffix" value=".jsp"/>
</bean>
</beans>package com.luoxn28.hello;
import org.springframework.web.servlet.ModelAndView;
import org.springframework.web.servlet.mvc.AbstractController;
import javax.servlet.http.HttpServletRequest;
import javax.servlet.http.HttpServletResponse;
public class HelloController extends AbstractController {
@Override
protected ModelAndView handleRequestInternal(HttpServletRequest request, HttpServletResponse response) {
String hello = request.getParameter("hello");
System.out.println("HelloController 參數: " + hello);
ModelAndView mav = new ModelAndView("hello"); // 邏輯視圖名
mav.addObject("hello", hello); // 模型數據
return mav;
}
}<%@ page contentType="text/html;charset=UTF-8" language="java" %>
<html><body>
<form action="hello" method="post">
hello: <input type="text" name="hello"/>
<input type="submit" value="提交"/>
</form>
</body></html><%@ page contentType="text/html;charset=UTF-8" language="java" %>
<html><body>
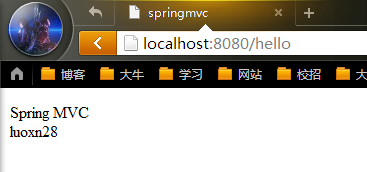
Spring MVC<br/>
${hello} <!-- EL 表達式輸出模型數據 -->
</body></html>mvcdemo/
├── src/
│ └── com/luoxn28/hello/HelloController.java
├── web/
│ ├── WEB-INF/
│ │ ├── mvcdemo-servlet.xml
│ │ ├── hello.jsp
│ │ └── web.xml
│ └── index.jsp
└── lib/ (手動添加的 JAR)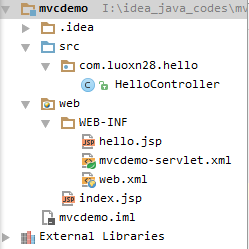
webapps/mvcdemo 或自定義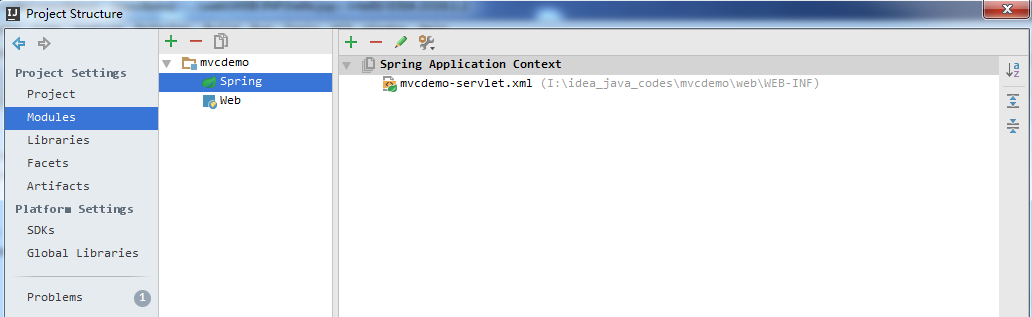
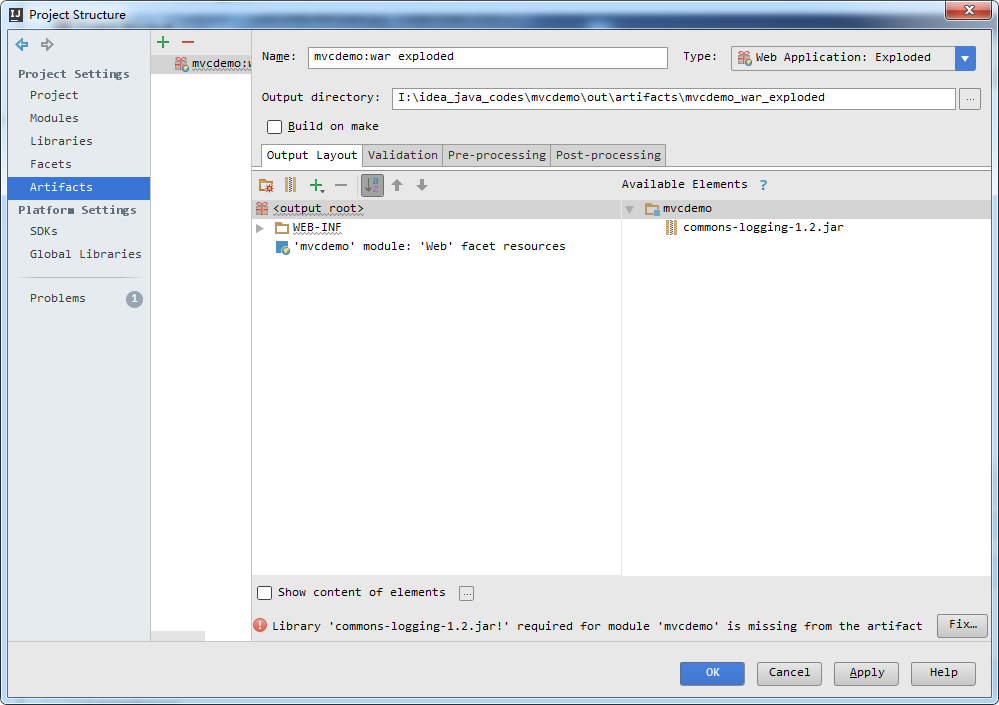
https://localhost:8080/mvcdemo/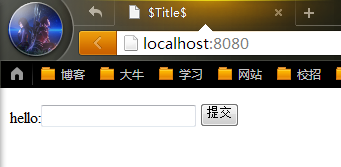
ControllerBeanNameHandlerMapping 為 <mvc:annotation-driven/> + @Controller + @RequestMapping@RestController + @GetMapping/@PostMapping 返回 JSONspring-boot-starter-web 一站式解決Build → Build Project automatically + Registry → compiler.automake.allow.when.app.runningSpring MVC 官方文檔、慕課網/極客時間 Spring MVC 實戰視頻課程