GlassFish v3 引入模塊化內核,支援非 Java EE 容器(如 JRuby/Rails)與標準 Servlet/JSP/EJB 共同運行,消除了以往需 Warbler 打包 WAR 或 Goldspike 插件的繁瑣步驟,實現原生級 Rails 部署。
# 1. 安裝 JRuby 1.1 (含 Rails)
# 2. 創建 Rails 應用
~/testbed/jruby-1.1/samples/rails $ ../../bin/jruby -S rails railsee3
# 生成標準 Rails 目錄結構
在 Rails 根目錄創建 WEB-INF/web.xml:
<web-app>
  <servlet>
    <servlet-name>HelloServlet</servlet-name>
    <servlet-class>server.HelloServlet</servlet-class>
  </servlet>
  <servlet-mapping>
    <servlet-name>HelloServlet</servlet-name>
    <url-pattern>/hello</url-pattern>
  </servlet-mapping>
</web-app>
WEB-INF/sun-web.xml
<sun-web-app error-url="">
  <context-root>/servlet</context-root>
  <class-loader delegate="true"/>
</sun-web-app>
mkdir WEB-INF/lib
# 將編譯好的 HelloServlet.jar 複製至 WEB-INF/lib
# 編輯 config/asenv.conf 設置 JRUBY_HOME
JRUBY_HOME="/Users/arungup/.../jruby-1.1"
# 部署 Rails 應用 (目錄即為應用)
~/testbed/glassfish/v3/p2b9/glassfish/bin/asadmin deploy --force=true railsee3
# 輸出: railsee3 deployed successfully
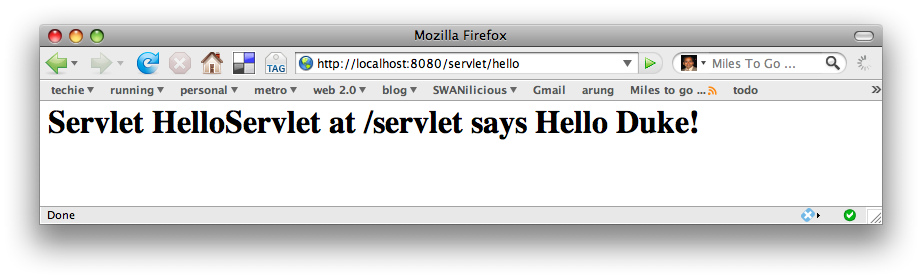
訪問 Servlet:https://localhost:8080/servlet/hello 顯示 "Hello World"。
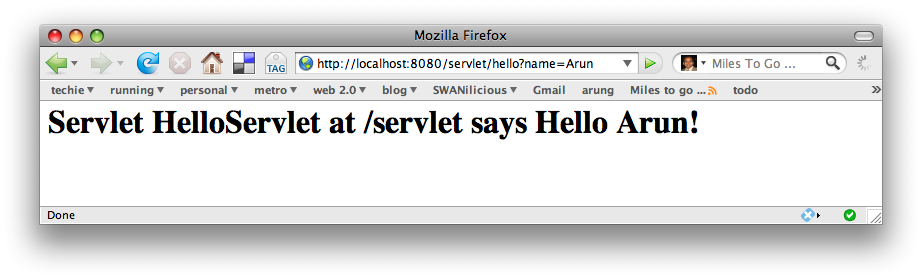
帶參數訪問:https://localhost:8080/servlet/hello?name=Duke 顯示 "Hello Duke"。
~/testbed/jruby-1.1/samples/rails/railsee3 $ ../../../bin/jruby script/generate controller home index
# app/controllers/home_controller.rb
class HomeController < ApplicationController
  include Java
  def index
    url = java.net.URL.new("https://localhost:8080/servlet/hello")
    conn = url.open_connection
    reader = java.io.BufferedReader.new(java.io.InputStreamReader.new(conn.get_input_stream))
    @servlet_output = ""
    while (line = reader.read_line) != nil
      @servlet_output << line
    end
    reader.close
  end
end
# app/views/home/index.html.erb
<h1>Home#index</h1>
<p>Find me in app/views/home/index.html.erb</p>
<%= @servlet_output %>
asadmin deploy --force=true railsee3
訪問 https://localhost:8080/railsee3/home/index,頁面顯示 Rails 標題及 Servlet 返回內容。
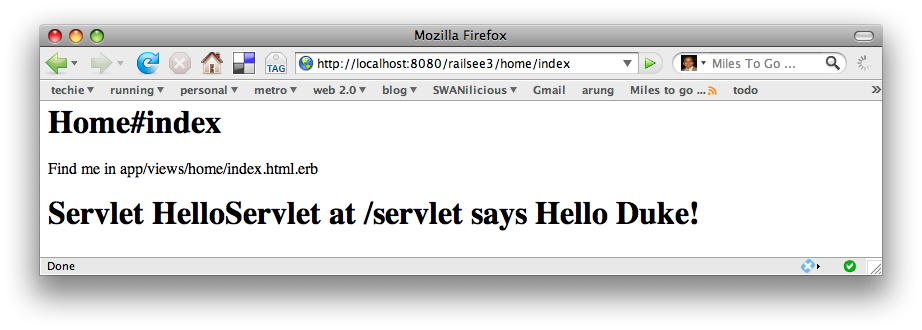
include Java 調用。sun-web.xml 中 delegate="true" 讓 Web 應用優先使用父類加載器,便於訪問容器級庫。