本文記錄在 Eclipse + Tomcat 5.0 環境下,使用 Axis2 1.0 版本建立、封裝、部署與測試 Web Service 的完整流程,適合初學者快速上手。
C:\axis2-std-1.0-binC:\axis2-std-1.0-bin\lib 所有 JARaxis2.war 複製至 %TOMCAT_HOME%/webapps 目錄https://localhost:8080/axis2/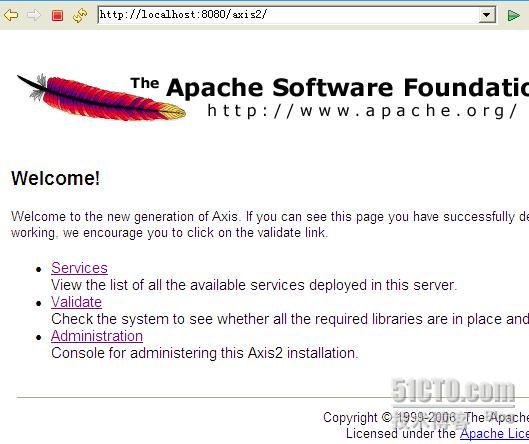
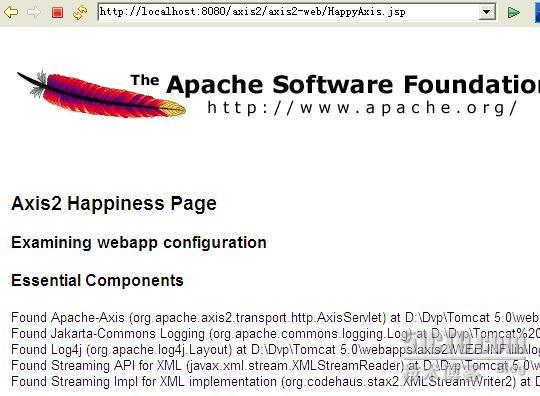
專案名:ZZaxis,加入 axis2 User Library
import org.apache.axiom.om.OMAbstractFactory;
import org.apache.axiom.om.OMElement;
import org.apache.axiom.om.OMFactory;
import org.apache.axiom.om.OMNamespace;

public class HelloWorld {
    public OMElement sayHello(OMElement in) {
        String name = in.getText();
        String info = name + "HelloWorld!";
        OMFactory fac = OMAbstractFactory.getOMFactory();
        OMNamespace omNs = fac.createOMNamespace("https://helloworld.com/", "hw");
        OMElement resp = fac.createOMElement("sayHelloResponse", omNs);
        resp.setText(info);
        return resp;
    }
}<?xml version="1.0" encoding="UTF-8"?>
<service name="HelloWorld">
<description>This is a sample Web Service.</description>
<parameter name="ServiceClass" locked="false">sample.HelloWorld</parameter>
<operation name="sayHello">
<messageReceiver class="org.apache.axis2.receivers.RawXMLINOutMessageReceiver"/>
</operation>
</service>+-example |-------- +-sample |------- HelloWorld.class |---------+-META-INF |------- services.xml
命令列執行封裝:
cd example
jar cvf HelloWorld.aar .
https://localhost:8080/axis2/ 進入 AdministrationHelloWorld.aar<CATALINA_HOME>/webapps/axis2/WEB-INF/services同樣加入 axis2 User Library
package example.client;

import org.apache.axiom.om.OMAbstractFactory;
import org.apache.axiom.om.OMElement;
import org.apache.axiom.om.OMFactory;
import org.apache.axiom.om.OMNamespace;
import org.apache.axis2.addressing.EndpointReference;
import org.apache.axis2.client.Options;
import org.apache.axis2.client.ServiceClient;

public class TestClient {
    private static EndpointReference targetEPR = new EndpointReference(
        "https://localhost:8080/axis2/services/HelloWorld");

    public static OMElement getSayHelloOMElement() {
        OMFactory fac = OMAbstractFactory.getOMFactory();
        OMNamespace omNs = fac.createOMNamespace("https://helloworld.com/", "hw");
        OMElement method = fac.createOMElement("sayHello", omNs);
        method.setText("ZJ");
        return method;
    }

    public static void main(String[] args) {
        try {
            Options options = new Options();
            options.setTo(targetEPR);
            ServiceClient sender = new ServiceClient();
            sender.setOptions(options);

            OMElement sayHello = getSayHelloOMElement();
            OMElement result = sender.sendReceive(sayHello);
            System.out.println(result);
        } catch (Exception axisFault) {
            axisFault.printStackTrace();
        }
    }
}<hw:sayHelloResponse xmlns:hw="https://helloworld.com/" xmlns:tns="https://ws.apache.org/axis2">
ZJHelloWorld!
</hw:sayHelloResponse>本文參考自「子孑」博客:原文連結