MIDP 2.0 引入 Image.getRGB() 與 Graphics.drawRGB(),開啟像素級影像處理大門。本文為系列首篇,建立 ARGB 位元操作基礎,實作半透明效果。
32 位 ARGB 像素結構:0xAARRGGBB
| 通道 | 位位置 | 遮罩 | 提取方式 |
|---|---|---|---|
| Alpha | 31-24 | 0xFF000000 | (argb >> 24) & 0xFF |
| Red | 23-16 | 0x00FF0000 | (argb >> 16) & 0xFF |
| Green | 15-8 | 0x0000FF00 | (argb >> 8) & 0xFF |
| Blue | 7-0 | 0x000000FF | argb & 0xFF |
常用運算子:>> (有號右移)、<< (左移)、& (位元 AND)、| (位元 OR)
image.getRGB(rgbData, offset, scanlength, x, y, width, height)argb = (newAlpha << 24) | (argb & 0x00FFFFFF)g.drawRGB(rgbData, offset, scanlength, x, y, width, height, processAlpha)import java.io.IOException;
import javax.microedition.lcdui.Canvas;
import javax.microedition.lcdui.Graphics;
import javax.microedition.lcdui.Image;
public class AlphaCanvas extends Canvas {
Image image;
int[] argb;
int alpha = 0x80; // 50% 透明
public AlphaCanvas() {
try {
image = Image.createImage("/test.png");
} catch (IOException e) {
e.printStackTrace();
}
argb = new int[image.getWidth() * image.getHeight()];
image.getRGB(argb, 0, image.getWidth(), 0, 0,
image.getWidth(), image.getHeight());
// 批次修改 Alpha
for (int i = 0; i < argb.length; i++) {
argb[i] = (alpha << 24) | (argb[i] & 0x00FFFFFF);
}
}
protected void paint(Graphics g) {
g.setColor(0xFFFFFF);
g.fillRect(0, 0, getWidth(), getHeight());
g.drawImage(image, 0, 0, Graphics.TOP | Graphics.LEFT); // 底圖
g.drawRGB(argb, 0, image.getWidth(), 0, 100,
image.getWidth(), image.getHeight(), true); // 半透明疊加
}
}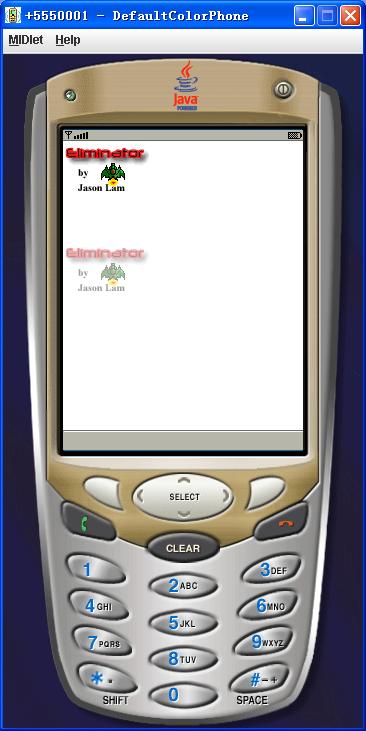
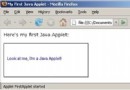
下方圖片為半透明疊加效果,可見背景白色底圖透出。先繪製不透明底圖,再 drawRGB() 疊加半透明層,即可直觀觀察效果。
| 方法 | 用途 |
|---|---|
Image.getRGB(int[], int, int, int, int, int, int) | 將指定區域像素讀入整數陣列 |
Graphics.drawRGB(int[], int, int, int, int, int, int, boolean) | 直接繪製像素陣列,processAlpha=true 啟用 Alpha 混合 |
Image.createImage(String) | 從 JAR 內資源載入 PNG (支援 Alpha 通道) |
掌握 ARGB 位元操作,即可在 J2ME 受限環境實現豐富視覺特效,大幅減少圖片資源體積。