上節完成地圖編輯器並實現障礙物導出與 A* 模擬尋路。本節示範如何將導出的 XML 障礙物資料套用至教程示例遊戲。
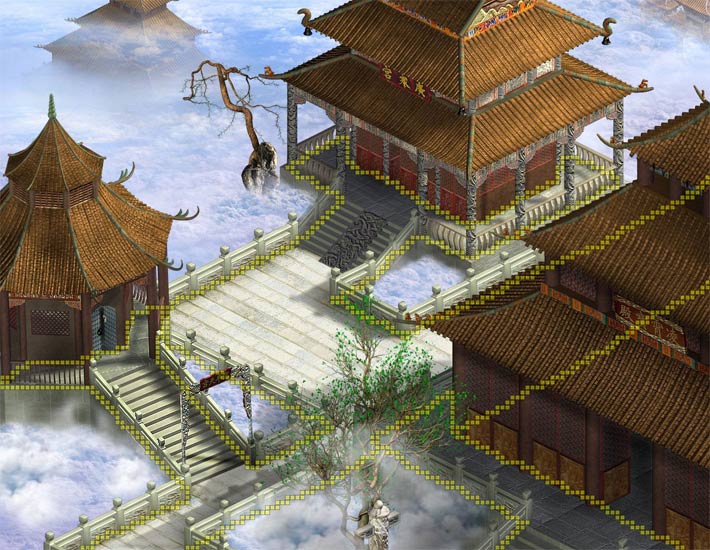
點擊導出得到 XML 片段:
<Item ID="Obstruction" Value="240_0,241_0,238_1,239_1,240_1,236_2,237...>開啟專案 Config.xml,找到 <Map Sign="1">,新增 Obstruction 屬性並貼上 Value 值:
<Map Sign="1" Obstruction="240_0,241_0,238_1,239_1,240_1,236_2,237...>byte[,] FixedObstruction = new byte[256, 256], VaryObstruction;
private void InitObstruction() {
for (int y = 0; y < FixedObstruction.GetUpperBound(1); y++)
for (int x = 0; x < FixedObstruction.GetUpperBound(0); x++)
FixedObstruction[x, y] = 1; // 預設可通行=1
string[] obstruction = Super.GetTreeNode(Super.SystemConfig, "Map", "Sign", "1").Attribute("Obstruction").Value.Split(',');
string[] str;
for (int i = 0; i < obstruction.Count(); i++) {
str = obstruction[i].Split('_');
FixedObstruction[Convert.ToInt32(str[0]), Convert.ToInt32(str[1])] = 0; // 障礙=0
}
VaryObstruction = (byte[,])FixedObstruction.Clone();
}以逗號與底線分隔,Split() 輕鬆解析並標記障礙物。
編輯器即時顯示滑鼠座標,利用此功能定位遮擋物。切割部分遮擋物演示:
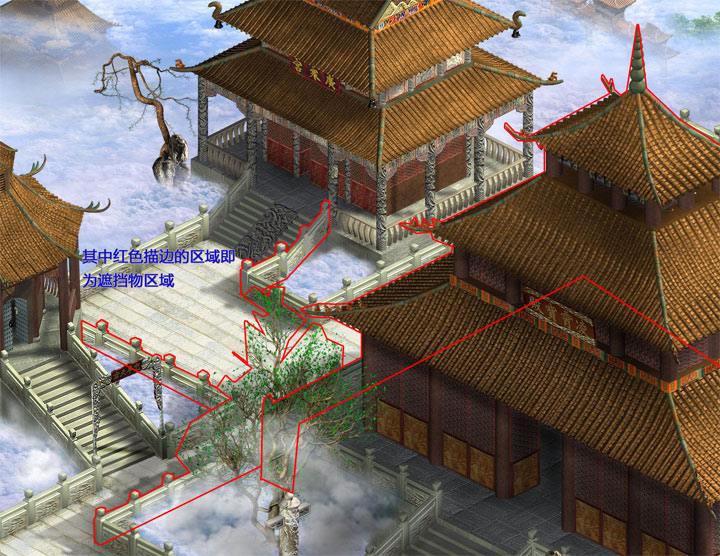
存為 PNG,依編輯器顯示的左下角座標與圖片尺寸寫入 Config.xml:
<Masks>
  <Mask Src="Map\1\0.png" Width="180" Height="191" X="658" Y="609" CenterY="191" Opacity="0.7"/>
  <Mask Src="Map\1\1.png" Width="327" Height="208" X="342" Y="863" CenterY="208" Opacity="0.7"/>
  <Mask Src="Map\1\2.png" Width="498" Height="515" X="367" Y="1106" CenterY="515" Opacity="0.7"/>
  <Mask Src="Map\1\3.png" Width="1235" Height="938" X="701" Y="1004" CenterY="938" Opacity="0.7"/>
</Masks>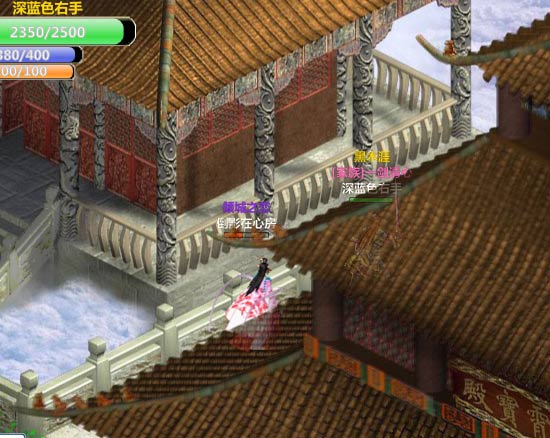
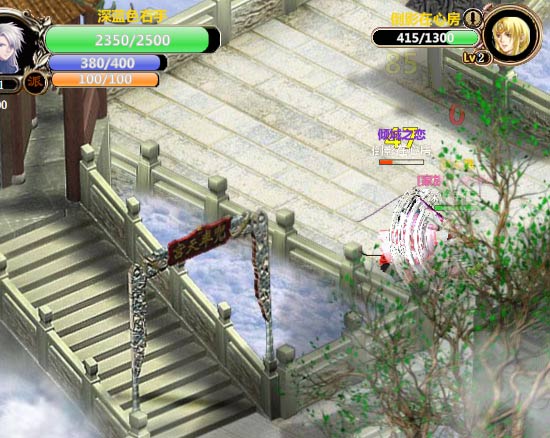
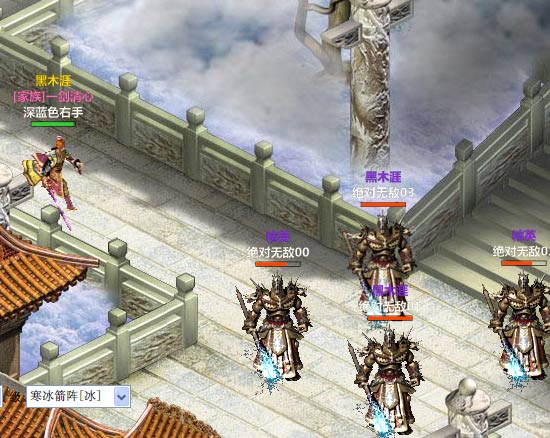
完整地圖(障礙物、遮擋物、背景佈局)輕鬆完成。目前仍用整圖,效能影響大,切片功能刻不容緩。下一節更精彩,敬請關注。