三條指令完成安裝,附原始碼編譯執行驗證。
sudo apt-get install mysql-server
sudo apt-get install mysql-client
sudo apt-get install libmysqlclient-dev
安裝過程會提示設定 root 密碼,請記牢。
sudo netstat -tap | grep mysql
# 出現 LISTEN 狀態的 mysql socket 即成功mysql -u root -p
SHOW DATABASES;
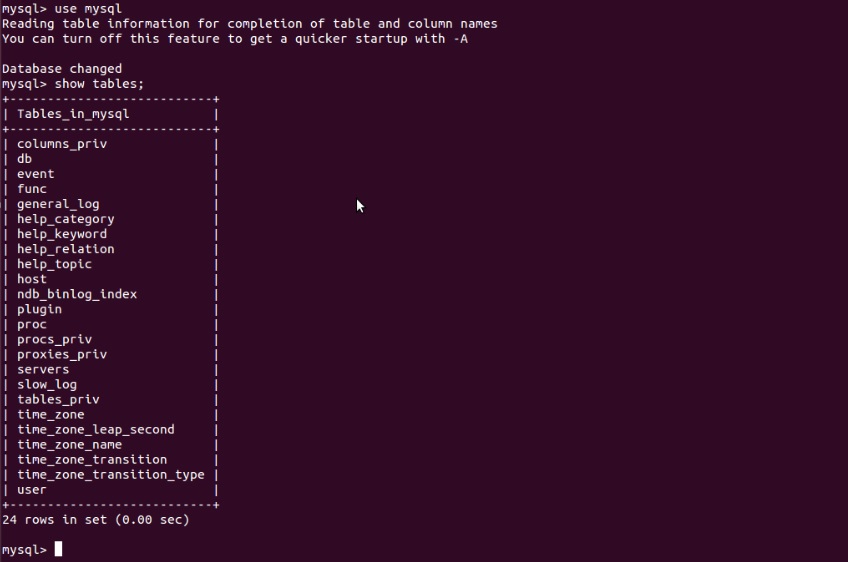
USE mysql;
SHOW TABLES;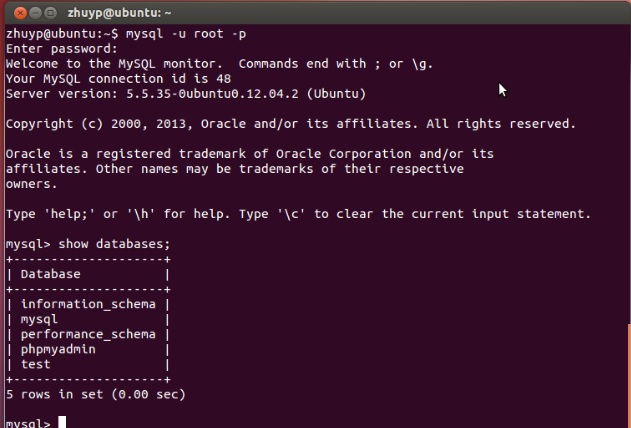
#include
#include
#include

int main() {
    MYSQL *conn;
    MYSQL_RES *res;
    MYSQL_ROW row;
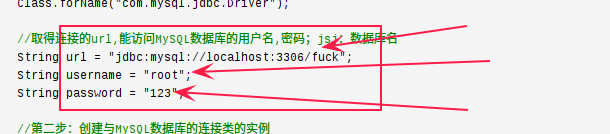
    char *server = "localhost";
    char *user = "root";
    char *password = "mima";      // 修改為你的密碼
    char *database = "mysql";

    conn = mysql_init(NULL);
    if (!mysql_real_connect(conn, server, user, password, database, 0, NULL, 0)) {
        fprintf(stderr, "%s\n", mysql_error(conn));
        exit(1);
    }

    if (mysql_query(conn, "SHOW TABLES")) {
        fprintf(stderr, "%s\n", mysql_error(conn));
        exit(1);
    }

    res = mysql_use_result(conn);
    printf("MySQL Tables in mysql database:\n");
    while ((row = mysql_fetch_row(res)) != NULL) {
        printf("%s \n", row[0]);
    }

    mysql_free_result(res);
    mysql_close(conn);
    printf("finish! \n");
    return 0;
} g++ -Wall mysql_test.cpp -o mysql_test -lmysqlclient
./mysql_test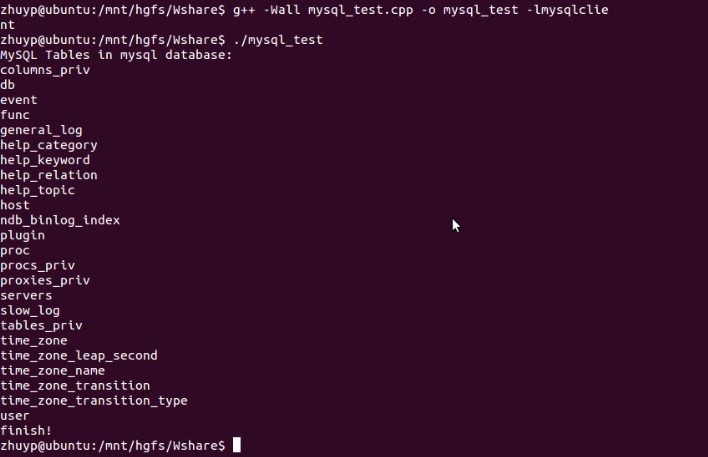
輸出結果與手工執行 SHOW TABLES 一致,驗證連線庫正常。