# 停止服務
systemctl stop mysql

# 完全移除包含配置的套件
sudo apt-get autoremove --purge mysql-server-*
sudo apt-get remove --purge mysql-server mysql-client mysql-common

# 清理殘留配置
dpkg -l | grep ^rc | awk '{print $2}' | sudo xargs dpkg -P

# 刪除數據目錄 (謹慎!會丟失數據)
# sudo rm -rf /var/lib/mysql
# sudo rm -rf /etc/mysql
# 更新軟件源
sudo apt-get update

# 安裝服務端 (會提示設置 root 密碼)
sudo apt-get install mysql-server

# 安裝客戶端
sudo apt-get install mysql-client

# 驗證服務狀態
systemctl status mysql


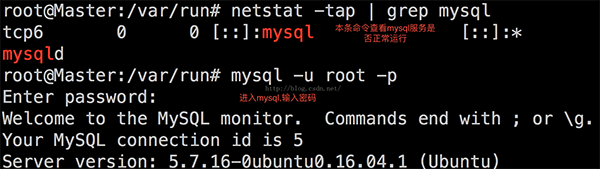
sudo mysqladmin -u root password 'NewStrongPass123!'
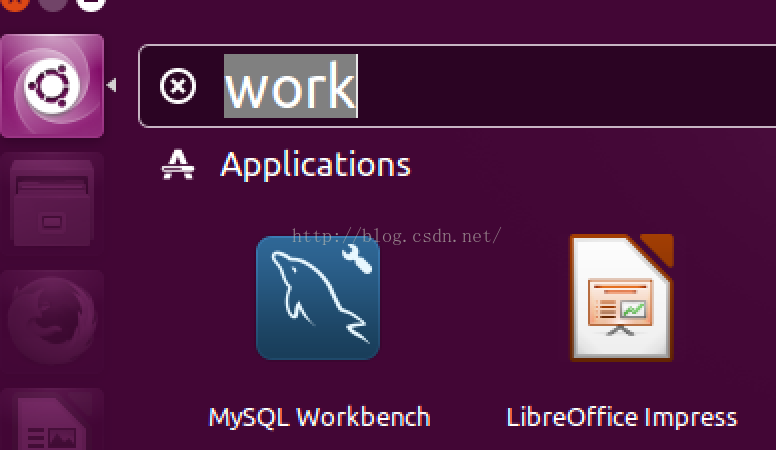
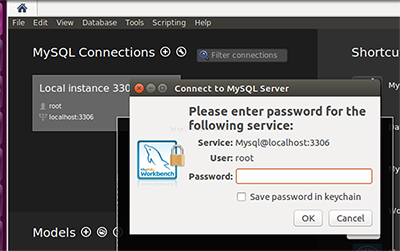
sudo apt-get install mysql-workbench

systemctl start mysql      # 啟動
systemctl stop mysql       # 停止
systemctl restart mysql    # 重啟
systemctl status mysql     # 狀態
systemctl enable mysql     # 開機自啟
systemctl disable mysql    # 取消自啟
# 主配置文件
/etc/mysql/mysql.conf.d/mysqld.cnf

# 常用調整示例
[mysqld]
character_set_server = utf8mb4
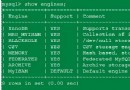
default_storage_engine = InnoDB
max_connections = 200
innodb_buffer_pool_size = 1G
# 修改綁定地址
vim /etc/mysql/mysql.conf.d/mysqld.cnf
bind-address = 0.0.0.0

# 重啟服務
systemctl restart mysql

# 數據庫授權
mysql -u root -p
GRANT ALL PRIVILEGES ON *.* TO 'root'@'%' IDENTIFIED BY 'password' WITH GRANT OPTION;
FLUSH PRIVILEGES;

# 防火牆放行
sudo ufw allow 3306/tcp
Ubuntu 16.04 下 APT 安裝 MySQL 流程標準化程度高,核心步驟:徹底清理舊版 → 安裝服務端客戶端 → 設置密碼 → 安裝圖形工具 → 驗證連接。生產環境建議補充:配置調優、備份策略、監控告警、SSL 加密、主從架構。