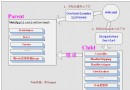
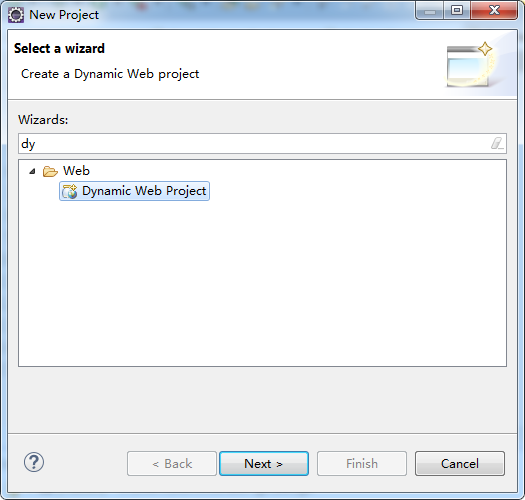
Spring MVC 憑藉 REST 風格支援、豐富註解、靈活方法簽名、強大型別轉換與驗證體系,成為 Java Web 開發主流框架。本文先梳理架構圖與請求處理流程,再以「簡單登入」為例,完整示範註解式開發:環境搭建、轉發與重導向兩種頁面跳轉方式、參數綁定、異常處理雛形。
HttpMessageConverter 自動處理 JSON/XML
DispatcherServlet(前端控制器)。HandlerMapping 依 URL 尋找對應 Handler(Controller 方法)。HandlerAdapter 執行 Handler,完成參數綁定、業務邏輯、返回 ModelAndView/String/void。ViewResolver 解析邏輯視圖名為實際 View(JSP/FreeMarker/Thymeleaf)。src ├── main │ ├── java │ │ └── cn.zhang.controller.MyController │ ├── resources │ │ └── applicationContext.xml │ └── webapp │ ├── WEB-INF │ │ ├── web.xml │ │ └── jsp │ │ ├── index.jsp │ │ ├── hello.jsp │ │ └── error.jsp │ └── index.jsp (welcome-file)
<servlet>
    <servlet-name>springmvc</servlet-name>
    <servlet-class>org.springframework.web.servlet.DispatcherServlet</servlet-class>
    <init-param>
        <param-name>contextConfigLocation</param-name>
        <param-value>classpath:applicationContext.xml</param-value>
    </init-param>
    <load-on-startup>1</load-on-startup>
</servlet>
<servlet-mapping>
    <servlet-name>springmvc</servlet-name>
    <url-pattern>*.do</url-pattern>
</servlet-mapping>
<context:component-scan base-package="cn.zhang.controller" />
<mvc:annotation-driven />
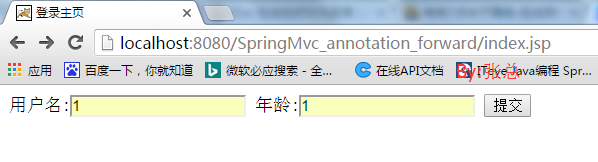
<form action="frist.do" method="post">
    用戶名: <input type="text" name="name" />
    年齡: <input type="text" name="age" />
    <input type="submit" value="提交" />
</form>
@Controller
public class MyController {
    @RequestMapping(value="/frist.do", produces="text/html;charset=utf-8", method=RequestMethod.POST)
    public String frist(Model model, String name, int age) {
        model.addAttribute("name", name);
        model.addAttribute("age", age);
        return "forward:/hello.jsp"; // 伺服器內部轉發
    }
}
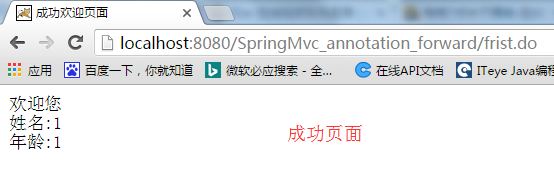
歡迎您<br/>
姓名: ${name}<br/>
年齡: ${age}
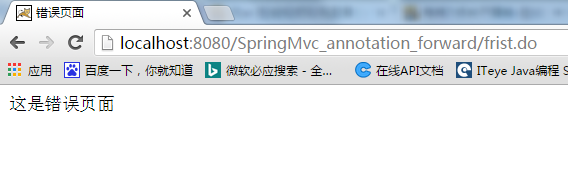
這是錯誤頁面
修改 Controller,引入兩次重導向:
@Controller
public class MyController {
    @RequestMapping("/frist.do")
    public String frist() {
        return "redirect:hello.do"; // 302 到 hello.do
    }

    @RequestMapping("/hello.do")
    public String hello(Model model, String name, int age) {
        model.addAttribute("name", name);
        model.addAttribute("age", age);
        if ("1".equals(name) && age == 1)
            return "redirect:/hello.jsp"; // 重導向到實體 JSP
        else
            return "redirect:/error.jsp";
    }
}
差異:forward 保持請求屬性、地址列不變;redirect 發起新請求、地址列更新、請求屬性丟失(需用 Session/Flash Attribute 傳遞)。
@ModelAttribute、@SessionAttributes 跨請求共享資料。Validator 實現表單驗證(@Valid + BindingResult)。@ExceptionHandler、@ControllerAdvice 統一異常處理。RestController 開發純 API 服務,配合 ResponseEntity 精準控制 HTTP 狀態碼。