Eclipse 的插件架構讓開發者能將任何想法轉化為 IDE 內建功能。本文完整示範兩個插件的從零建構:天氣預報(網頁擷取 + JEditorPane 渲染 HTML)與 郵件快速監控(JavaMail POP3 + 關鍵字過濾),涵蓋 plugin.xml 宣告、Action 類別、Visual Editor 視窗設計、第三方 JAR 打包發布全流程。
File → New → Other → Plug-in Project,專案名 myplugin。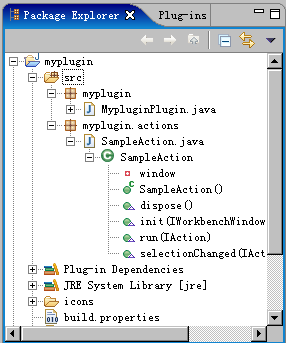
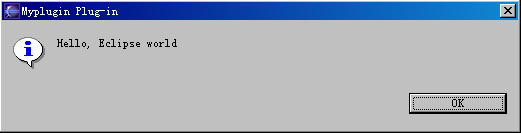
<actionSet label="Sample Action Set" visible="true" id="myplugin.actionSet">
  <menu label="我的空間" id="sampleMenu">
    <separator name="sampleGroup"/>
  </menu>
  <action label="天氣預報" icon="icons/sample.gif" class="myplugin.actions.SampleAction"
          menubarPath="sampleMenu/sampleGroup" toolbarPath="sampleGroup" id="myplugin.actions.SampleAction"/>
</actionSet>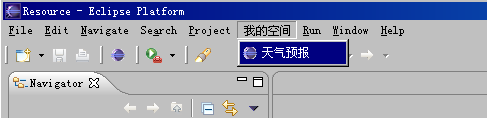
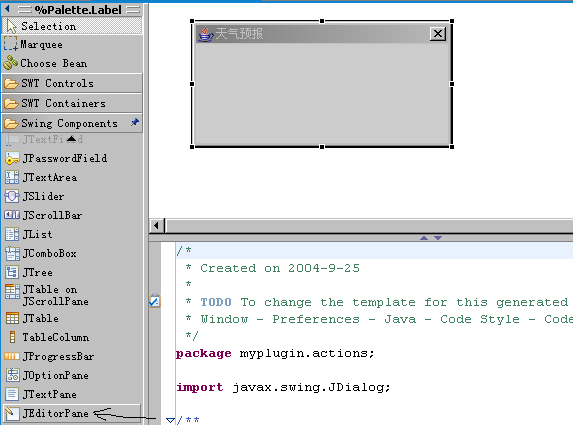
New → Other → Visual Class,父類別 javax.swing.JDialog,類名 WeatherDialog。contentType="text/html"。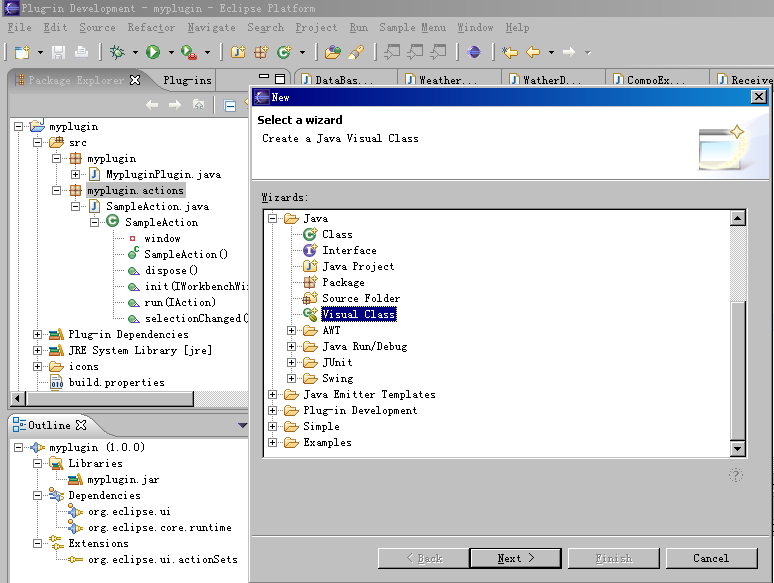
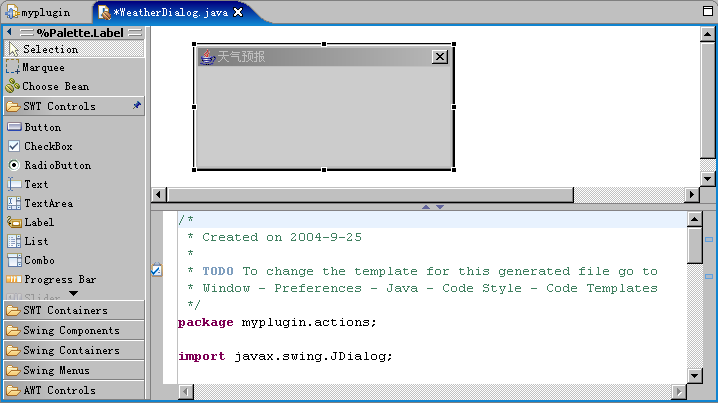
public class WeatherDialog extends JDialog {
    private JEditorPane editorPane;
    public WeatherDialog(String city) {
        this.city = city; initialize();
    }
    private void initialize() {
        setContentPane(getEditorPane());
        try {
            URL url = new URL("https://weather.news.sina.com.cn/cgi-bin/figureWeather/simpleSearch.cgi?city=" + city);
            BufferedReader in = new BufferedReader(new InputStreamReader(url.openStream()));
            StringBuilder html = new StringBuilder();
            String line;
            while ((line = in.readLine()) != null) html.append(line).append("\n");
            in.close();
            // 擷取 ... 區段
            String body = html.substring(html.indexOf("") + 5);
            editorPane.setText(body);
        } catch (Exception e) { e.printStackTrace(); }
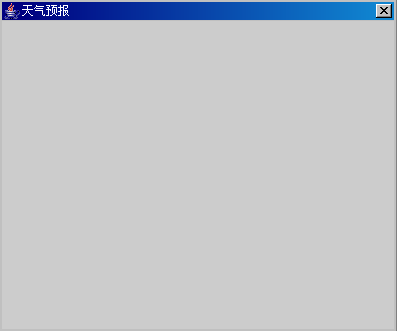
        setTitle("天氣預報"); setSize(400, 300);
    }
    private JEditorPane getEditorPane() {
        if (editorPane == null) { editorPane = new JEditorPane(); editorPane.setContentType("text/html"); }
        return editorPane;
    }
} public void run(IAction action) {
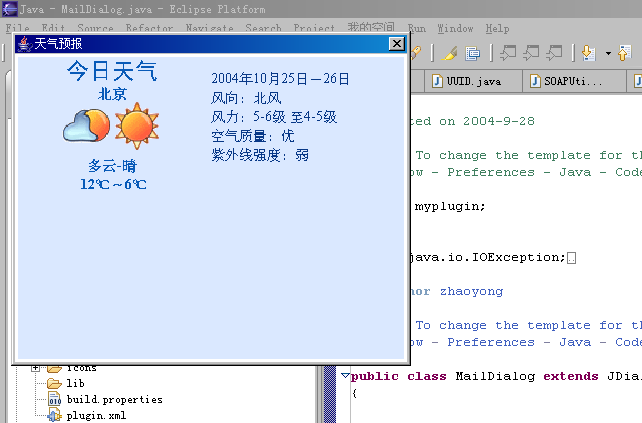
new WeatherDialog("北京").show(); // 或上海、廣州等
}
<action label="郵件信息" icon="icons/sample.gif" class="myplugin.actions.MailAction"
menubarPath="sampleMenu/sampleGroup" toolbarPath="sampleGroup" id="myplugin.actions.MailAction"/>public class MailConfig {
String popServer, popUser, popPassword;
String[] strFrom; // 寄件人關鍵字
String[] strSubject; // 主旨關鍵字
boolean isViewContent = false;
// getter/setter 略
}public class MailDialog extends JDialog {
private JTextPane textPane;
private MailConfig[] configs;
public MailDialog(MailConfig[] configs) { this.configs = configs; initialize(); }
private void initialize() {
setContentPane(getTextPane());
textPane.setText(getAllMailInfo());
setTitle("郵件信息"); setSize(400, 300);
}
private String getAllMailInfo() {
StringBuilder all = new StringBuilder();
for (MailConfig mc : configs) all.append(getMailInfo(mc));
return all.length() == 0 ? "未檢測到相關新郵件!" : all.toString();
}
private String getMailInfo(MailConfig mc) {
StringBuilder info = new StringBuilder();
Store store = null; Folder folder = null;
try {
Session session = Session.getDefaultInstance(System.getProperties(), null);
store = session.getStore("pop3");
store.connect(mc.getPopServer(), mc.getPopUser(), mc.getPopPassword());
folder = store.getDefaultFolder().getFolder("INBOX");
folder.open(Folder.READ_ONLY);
Message[] msgs = folder.getMessages();
for (Message msg : msgs) {
String from = ((InternetAddress)msg.getFrom()[0]).getPersonal();
if (from == null) from = ((InternetAddress)msg.getFrom()[0]).getAddress();
String subject = msg.getSubject();
if (match(from, mc.getStrFrom()) || match(subject, mc.getStrSubject())) {
info.append("發件人: ").append(from).append("\n")
.append("主旨: ").append(subject).append("\n")
.append("時間: ").append(msg.getSentDate()).append("\n");
if (mc.isViewContent()) info.append(msg.getContent()).append("\n");
info.append("------------------------------------\n");
}
}
} catch (Exception e) { e.printStackTrace(); }
finally { closeQuietly(folder); closeQuietly(store); }
return info.toString();
}
private boolean match(String target, String[] keys) {
if (keys == null) return true;
if (target == null) return false;
for (String k : keys) if (target.indexOf(k) >= 0) return true;
return false;
}
// getTextPane, closeQuietly 略
}public void run(IAction action) {
MailConfig mc = new MailConfig();
mc.setPopServer("pop.example.com");
mc.setPopUser("user"); mc.setPopPassword("pwd");
mc.setStrFrom(new String[]{"boss", "alert"});
mc.setStrSubject(new String[]{"urgent", "release"});
new MailDialog(new MailConfig[]{mc}).show();
}plugin.xml runtime 區段宣告 myplugin.jar、lib/javaMail.jar、lib/activation.jar 並 <export name="*"/>。File → Export → Plug-in Development → Deployable plug-ins and fragments 導出。plugins/ 目錄或使用 Help → Software Updates 安裝。
4. 重啟 Eclipse,選單欄出現「我的空間 → 天氣預報 / 郵件信息」。
.properties 或 Preference Store。Notification API)。兩個插件、幾百行代碼,即讓 Eclipse 搭載即時天氣與郵件監控。這正是「一切皆插件」的魅力:你的 IDE,你做主。動手打造屬於你的高效工作環境吧!