LoginDemo/WEB-INF/struts-config.xml*.do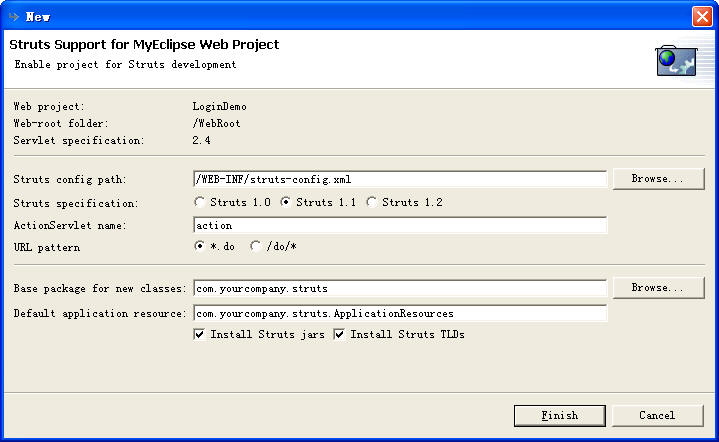
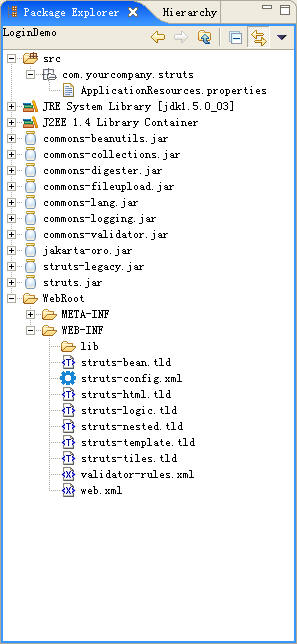
<web-app>
    <!-- Struts 標簽庫定義 -->
    <taglib>
        <taglib-uri>/tags/struts-html</taglib-uri>
        <taglib-location>/WEB-INF/struts-html.tld</taglib-location>
    </taglib>
    <taglib>
        <taglib-uri>/tags/struts-bean</taglib-uri>
        <taglib-location>/WEB-INF/struts-bean.tld</taglib-location>
    </taglib>
    <taglib>
        <taglib-uri>/tags/struts-logic</taglib-uri>
        <taglib-location>/WEB-INF/struts-logic.tld</taglib-location>
    </taglib>

    <servlet>
        <servlet-name>action</servlet-name>
        <servlet-class>org.apache.struts.action.ActionServlet</servlet-class>
        <init-param>
            <param-name>config</param-name>
            <param-value>/WEB-INF/struts-config.xml</param-value>
        </init-param>
        <load-on-startup>1</load-on-startup>
    </servlet>
    <servlet-mapping>
        <servlet-name>action</servlet-name>
        <url-pattern>*.do</url-pattern>
    </servlet-mapping>
</web-app>
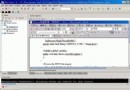
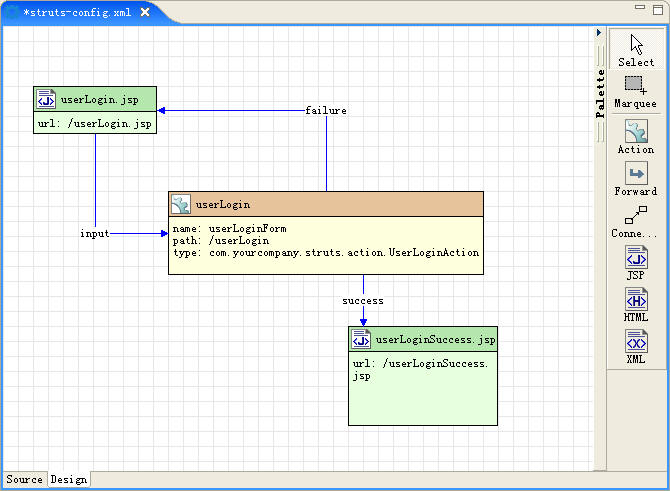
右側 Palette 面板提供拖拽組件。
userLoginSuccess.jspStandard JSP using Struts 1.1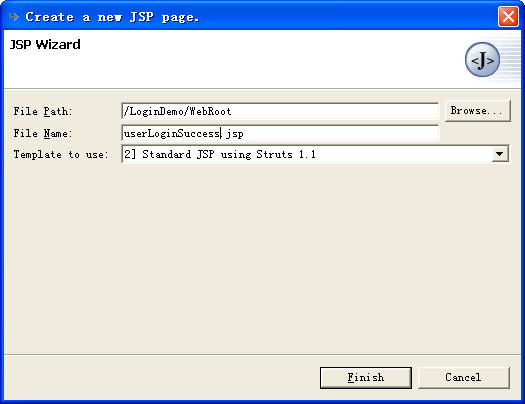
<%@ taglib uri="/tags/struts-html" prefix="html" %>
<%@ taglib uri="/tags/struts-bean" prefix="bean" %>
<%@ taglib uri="/tags/struts-logic" prefix="logic" %>
<html>
<body>
    登錄成功,歡迎 <bean:write name="userName" />!
</body></html>
userLoginForm/userLogincom.unmi.action.UserLoginActioncom.unmi.form.UserLoginFormuserLogin.jsp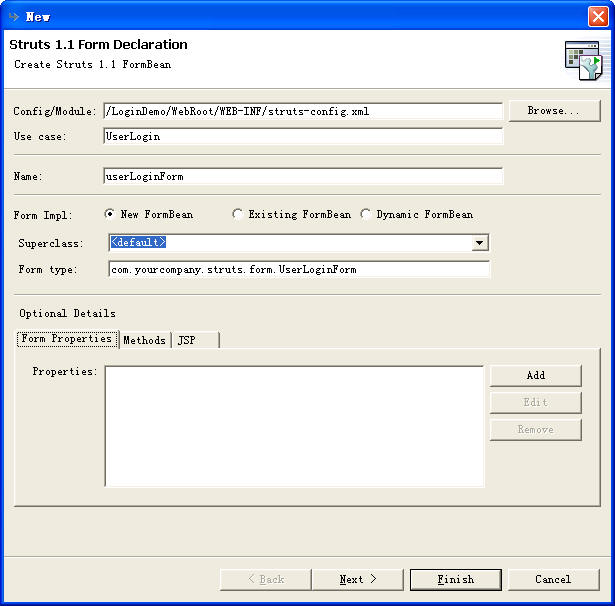
userName (Type: String)password (Type: String, JSP Input Type: password)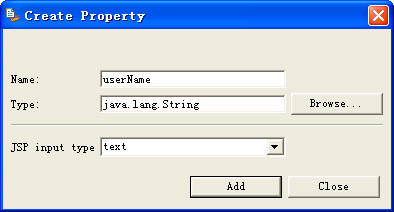
/userLogin.do登錄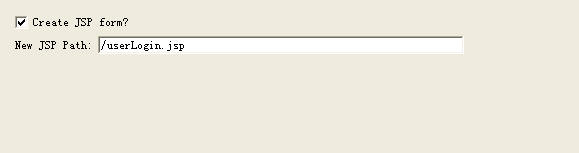
success, Path: /userLoginSuccess.jspfailure, Path: /userLogin.jsp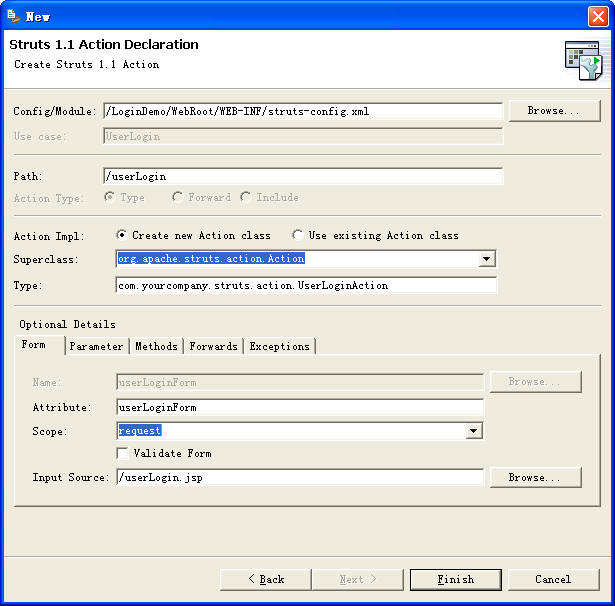
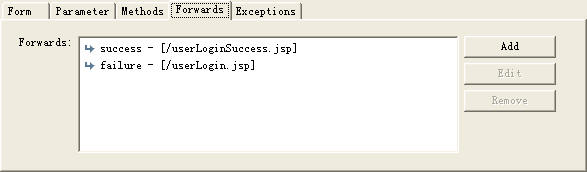
點擊 Finish,Designer 視圖顯示完整流程:
編輯 userLogin.jsp,替換所有 <%@ taglib ...%> 為:
<%@ taglib uri="/tags/struts-html" prefix="html" %>
<%@ taglib uri="/tags/struts-bean" prefix="bean" %>
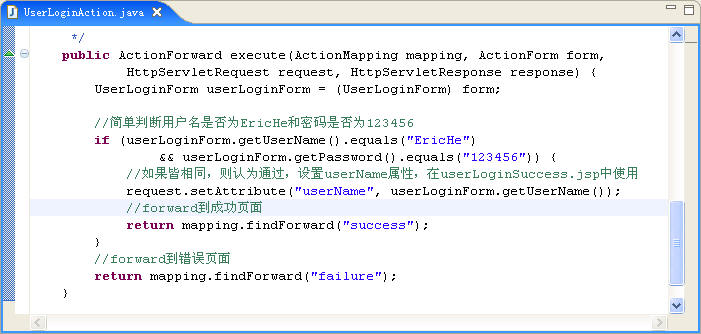
package com.unmi.action;

import javax.servlet.http.HttpServletRequest;
import javax.servlet.http.HttpServletResponse;
import org.apache.struts.action.*;

public class UserLoginAction extends Action {
    @Override
    public ActionForward execute(ActionMapping mapping, ActionForm form,
                                 HttpServletRequest request, HttpServletResponse response) {
        UserLoginForm loginForm = (UserLoginForm) form;
        String userName = loginForm.getUserName();
        String password = loginForm.getPassword();

        // 簡單驗證:用戶名 EricHe,密碼 123456
        if ("EricHe".equals(userName) && "123456".equals(password)) {
            request.setAttribute("userName", userName); // 供成功頁面使用
            return mapping.findForward("success");
        }
        return mapping.findForward("failure");
    }
}
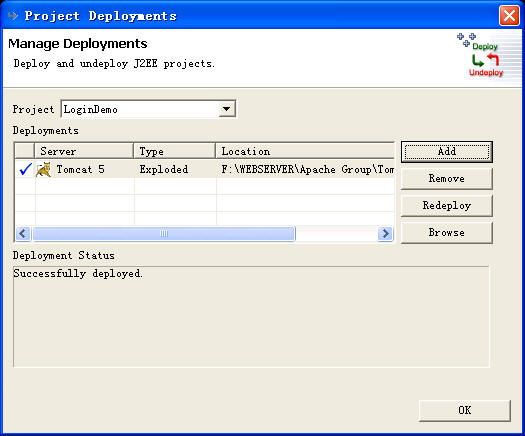
URL: https://127.0.0.1:8080/LoginDemo/userLogin.jsp
EricHe, 密碼: 123456 → 顯示成功頁面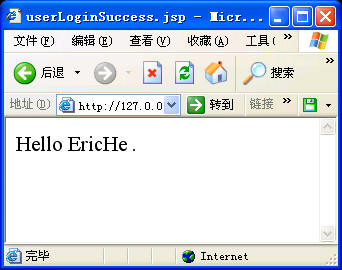
| 功能 | 傳統手寫 | Designer 可視化 |
|---|---|---|
| 配置文件編輯 | XML 手寫,易出錯 | 圖形化拖拽,自動生成 XML |
| 三層關聯創建 | 分別創建 Form/Action/JSP | 一鍵生成關聯完整的三件套 |
| 屬性映射 | 手動同步 | 表單域自動綁定 Form 屬性 |
| 轉向配置 | 手寫 <forward> | 可視化添加/修改 |
| 標簽庫管理 | 手動配置 web.xml | 模板自動包含 |
Struts 1.x 已停止維護,新項目建議:
本文僅作為維護老項目或學習 Struts 核心機制的參考。