SWT Designer 是一款基於 Eclipse SWT 技術的強大視覺化圖形用戶界面設計工具,作為 Eclipse 的界面開發插件包,它極大地簡化了 Java 桌面應用的開發流程。透過直觀的拖拉操作,開發者能快速在窗體上佈局各類組件,所生成的界面風格與原生操作系統一致,擁有極佳的用戶體驗。工具能自動生成 Java 代碼,並提供屬性編輯器靈活調整組件屬性,讓 SWT 界面開發變得輕鬆高效。
SWT Designer 版本眾多,需與對應的 Eclipse 版本匹配。本文以 Designer_v6.7.0_for_Eclipse3.2.zip 為例說明安裝步驟:
版本:Designer_v6.7.0,文件:Designer_v6.7.0_for_Eclipse3.2.zip。下載地址請自行搜尋獲取。
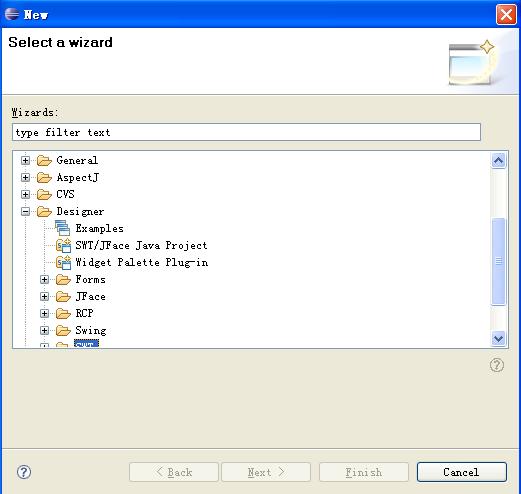
圖 1:新建專案對話框中出現 Designer 項
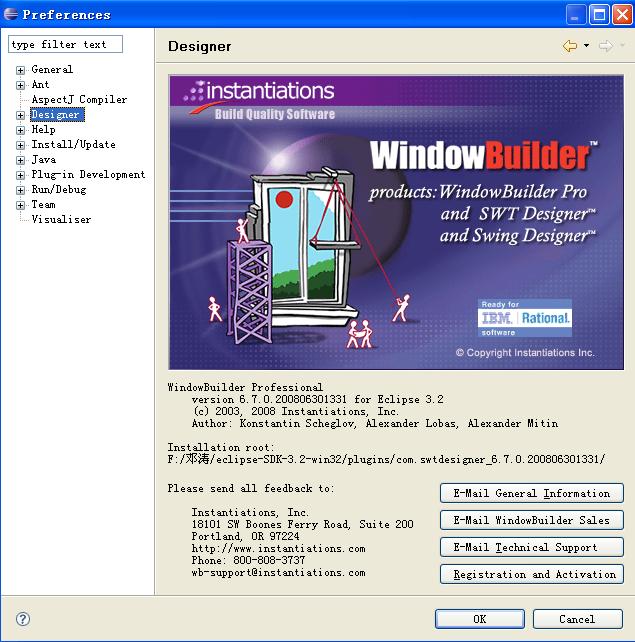
圖 2:偏好設定中的 Designer 選項
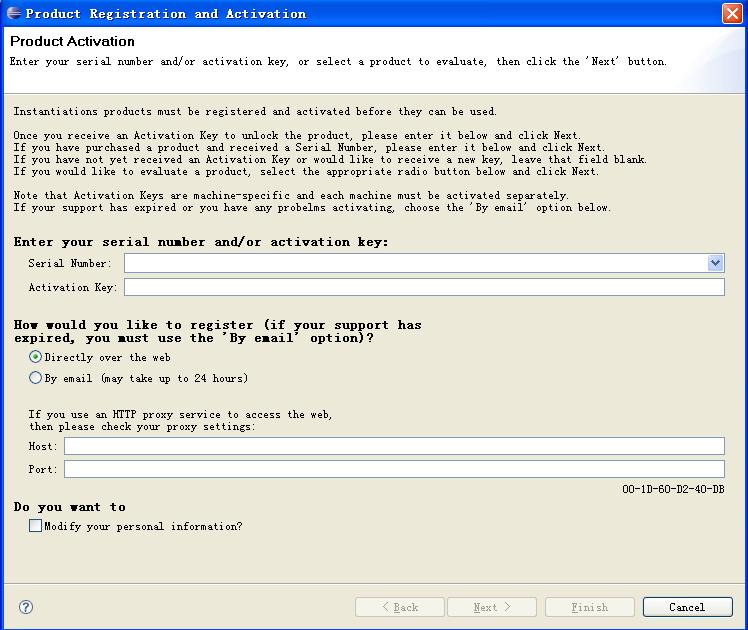
圖 3:輸入序列號與激活碼
版本說明: SWT Designer 提供免費版、評估版(2 週試用,需填寫資訊獲取 Activation Key)及正式版(購買授權)。免費版功能受限,評估版功能完整但有時間限制。
以下通過建立一個簡單的登入介面,熟悉 SWT Designer 的核心工作流。
SWTDesignerTest),點擊【完成】。main() 方法,使視窗可獨立執行。從調色盤拖入 2 個 Label(標籤)、2 個 Text(文字框)、2 個 Button(按鈕),佈局如下圖:
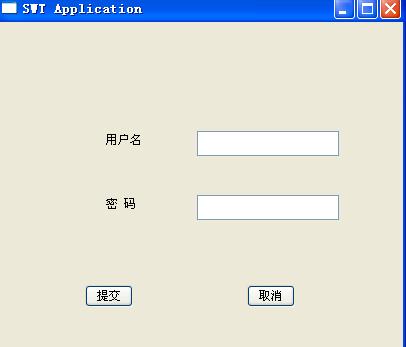
圖 4:SWT Designer 視覺化設計介面
雙擊「提交」按鈕進入原始碼編輯模式,添加登入驗證邏輯:
if (text.getText() != "" || text_1.getText() != "") {
    // 呼叫 JFace 訊息對話框顯示登入成功
    MessageDialog.openInformation(shell, "登入資訊", "歡迎 " + text.getText() + " 進入系統!");
} else {
    // 呼叫 JFace 錯誤對話框提示輸入為空
    MessageDialog.openError(shell, "錯誤", "使用者名稱或密碼為空,請重新輸入!");
}
關鍵點:
import org.eclipse.jface.dialogs.*;SWT.PASSWORD 樣式:new Text(shell, SWT.BORDER | SWT.PASSWORD)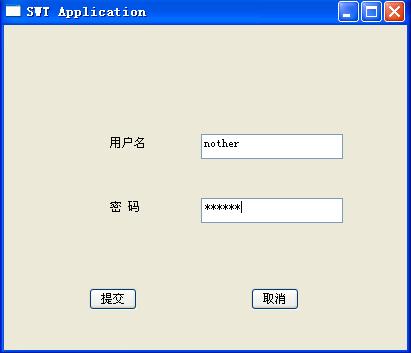
圖 6:使用者登入視窗
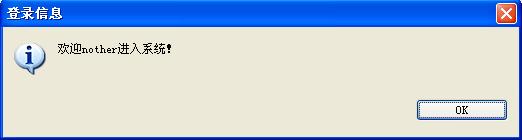
圖 7:登入成功資訊對話框
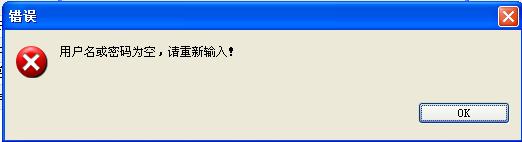
圖 8:輸入為空錯誤對話框
import org.eclipse.swt.SWT;
import org.eclipse.swt.events.SelectionAdapter;
import org.eclipse.swt.events.SelectionEvent;
import org.eclipse.swt.widgets.Button;
import org.eclipse.swt.widgets.Display;
import org.eclipse.swt.widgets.Label;
import org.eclipse.swt.widgets.Shell;
import org.eclipse.swt.widgets.Text;
import org.eclipse.jface.dialogs.*;

public class login {
    private Text text_1;
    private Text text;
    protected Shell shell;

    public static void main(String[] args) {
        try {
            login window = new login();
            window.open();
        } catch (Exception e) {
            e.printStackTrace();
        }
    }

    public void open() {
        final Display display = Display.getDefault();
        createContents();
        shell.open();
        shell.layout();
        while (!shell.isDisposed()) {
            if (!display.readAndDispatch())
                display.sleep();
        }
    }

    protected void createContents() {
        shell = new Shell();
        shell.setSize(411, 359);
        shell.setText("SWT Application");

        text = new Text(shell, SWT.BORDER);
        text.setBounds(197, 109, 142, 25);

        text_1 = new Text(shell, SWT.BORDER | SWT.PASSWORD);
        text_1.setBounds(197, 173, 142, 25);

        final Button button = new Button(shell, SWT.PUSH);
        button.setText("提交");
        button.setBounds(85, 263, 48, 22);

        final Button button_1 = new Button(shell, SWT.PUSH);
        button_1.setText("取消");
        button_1.setBounds(247, 263, 48, 22);

        final Label label = new Label(shell, SWT.NONE);
        label.setText("使用者名稱");
        label.setBounds(106, 112, 48, 22);

        final Label label_1 = new Label(shell, SWT.NONE);
        label_1.setText("密碼");
        label_1.setBounds(106, 176, 48, 25);

        button.addSelectionListener(new SelectionAdapter() {
            public void widgetSelected(final SelectionEvent e) {
                if (text.getText() != "" || text_1.getText() != "") {
                    MessageDialog.openInformation(shell, "登入資訊", "歡迎 " + text.getText() + " 進入系統!");
                } else {
                    MessageDialog.openError(shell, "錯誤", "使用者名稱或密碼為空,請重新輸入!");
                }
            }
        });
    }
}