自本系列第一篇文章起,我持續建構一個旅行規劃應用程式。基本的 MVC 架構已就緒,現在將加入外部技術——地圖功能。雖然文字能描述「從丹佛經聖荷西、西雅圖到羅利」,但地圖能直觀呈現路線與城市間距離。本文將使用免費的 Google Maps API,並示範如何將 IATA 機場代碼轉換為地圖座標。
當在 Google Maps 輸入 DEN,系統會在背景進行地理編碼,將人類可讀的地址轉換為經緯度座標。這類似 DNS 將網址解析為 IP 位址,地理編碼讓 Web 地圖應用更易用。
網路上有多種免費地理編碼服務,Google 和 Yahoo! 皆提供 API。本文使用 geonames.org 的 RESTful API,可指定搜尋 IATA 代碼而非一般文字。例如在瀏覽器輸入:
https://ws.geonames.org/search?name_equals=den&fcode=airp&style=full將獲得 XML 回應,包含機場名稱、經緯度、國家代碼等資訊。
地理編碼邏輯超出單一領域類別的 CRUD 操作,且可能被多處呼叫,適合放入 Grails Service。執行 grails create-service Geocoder 建立服務,修改 GeocoderService.groovy:
class GeocoderService {
    boolean transactional = false

    def geocodeAirport(String iata) {
        def base = "https://ws.geonames.org/search?"
        def qs = []
        qs << "name_equals=" + URLEncoder.encode(iata)
        qs << "fcode=airp"
        qs << "style=full"
        def url = new URL(base + qs.join("&"))
        def connection = url.openConnection()
        def result = [:]
        if (connection.responseCode == 200) {
            def xml = connection.content.text
            def geonames = new XmlSlurper().parseText(xml)
            result.name = geonames.geoname.name as String
            result.lat = geonames.geoname.lat as String
            result.lng = geonames.geoname.lng as String
            result.state = geonames.geoname.adminCode1 as String
            result.country = geonames.geoname.countryCode as String
        } else {
            log.error("GeocoderService.geocodeAirport FAILED")
            log.error(url)
            log.error(connection.responseCode)
            log.error(connection.responseMessage)
        }
        return result
    }
}
服務透過 XmlSlurper 解析 XML,回傳包含機場資訊的 Map。在 Controller 中注入服務並建立測試端點:
import grails.converters.*
class AirportController {
    def geocoderService
    def scaffold = Airport

    def geocode = {
        def result = geocoderService.geocodeAirport(params.iata)
        render result as JSON
    }
}
訪問 /airport/geocode?iata=den 即可獲得 JSON 格式的地理編碼結果。
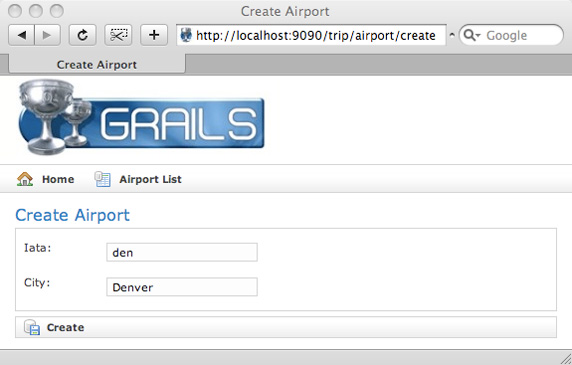
在 Airport.groovy 加入 lat 和 lng 欄位,執行 grails generate-views Airport 產生 GSP 檔案。修改 create.gsp 僅保留 iata 和 city 可編輯欄位(IATA 為地理編碼必要,城市名稱因機場位置常非所在城市而保留手動輸入)。
修改 save 閉包,儲存前呼叫地理編碼服務並合併結果:
def save = {
    def results = geocoderService.geocodeAirport(params.iata)
    def airport = new Airport(params + results)
    if (!airport.hasErrors() && airport.save()) {
        flash.message = "Airport ${airport.id} created"
        redirect(action:show, id:airport.id)
    } else {
        render(view:'create', model:[airport:airport])
    }
}
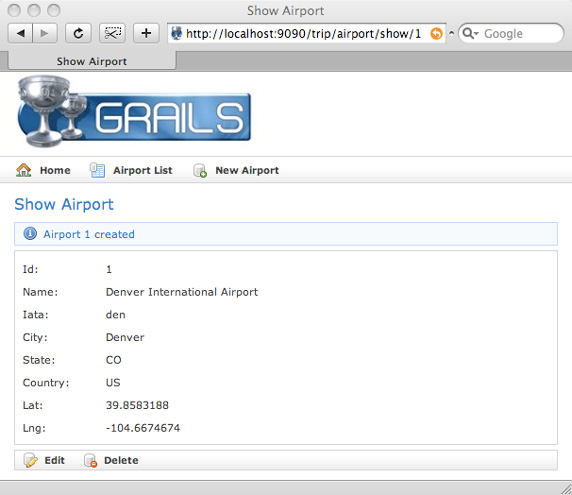
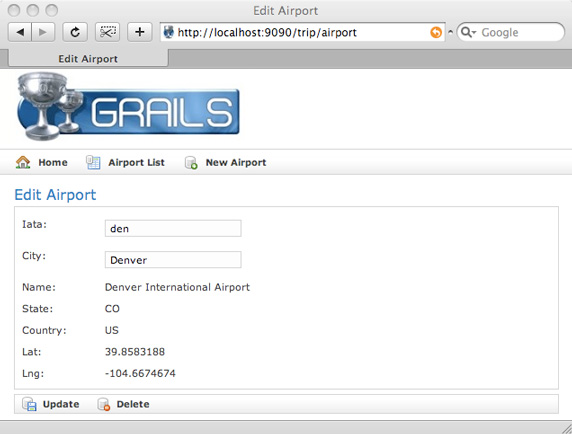
update 閉包同理修改。show.gsp 無需變更即可顯示經緯度。
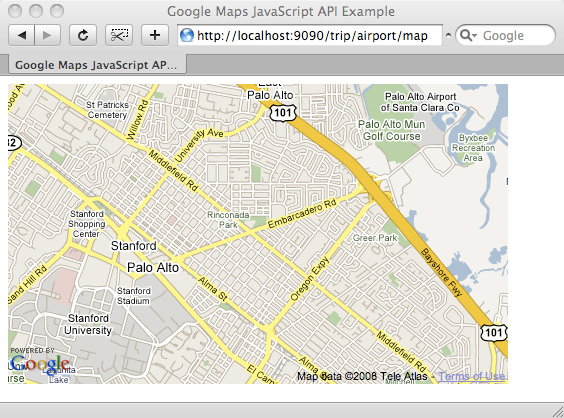
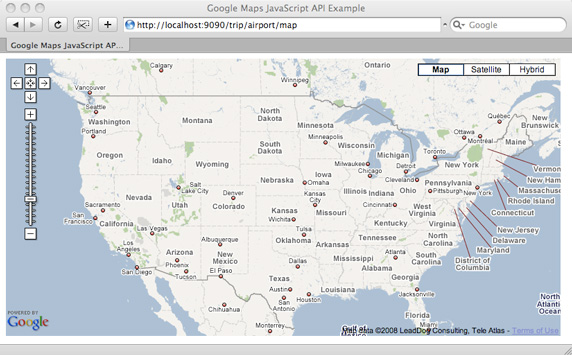
申請免費 Google Maps API Key(需綁定網址,如 https://localhost:9090/trip)。在 grails-app/views/airport/map.gsp 建立地圖頁面,調整中心點、縮放等級與控制項:
<script type="text/javascript">
var usCenterPoint = new GLatLng(39.833333, -98.583333)
var usZoom = 4
function load() {
    if (GBrowserIsCompatible()) {
        var map = new GMap2(document.getElementById("map"))
        map.setCenter(usCenterPoint, usZoom)
        map.addControl(new GLargeMapControl())
        map.addControl(new GMapTypeControl())
    }
}
</script>
</head>
<body onload="load()" onunload="GUnload()">
<div id="map" style="width: 800px; height: 400px"></div>
</body>
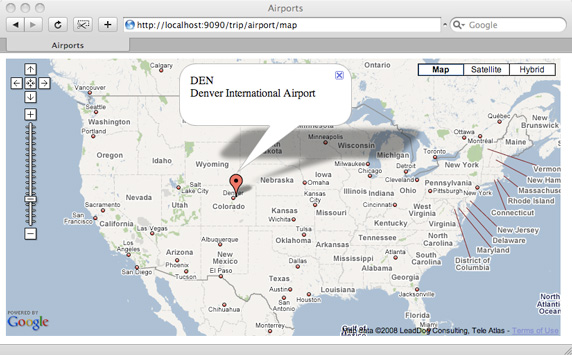
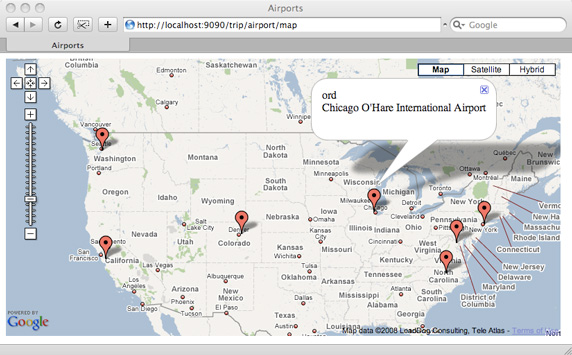
在 AirportController 加入 map 閉包回傳機場列表,於 GSP 中用 <g:each> 動態生成標記:
<g:each in="${airportList}" status="i" var="airport">
var point${airport.id} = new GLatLng(${airport.lat}, ${airport.lng})
var marker${airport.id} = new GMarker(point${airport.id})
marker${airport.id}.bindInfoWindowHtml("${airport.iata} <br/>${airport.name}")
map.addOverlay(marker${airport.id})
</g:each>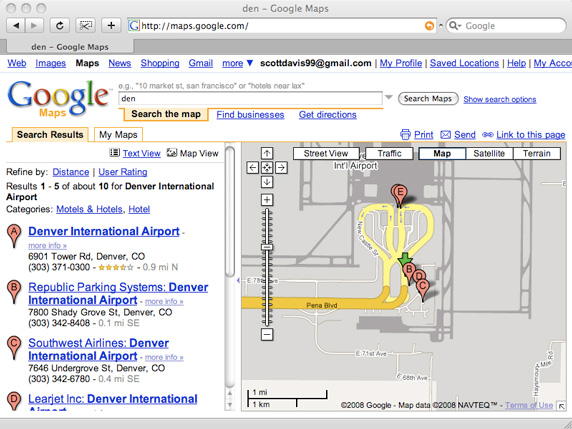
將地圖加入 Grails 應用需三步驟:
若需隱私地圖,可考慮開源 OpenLayers,提供相似體驗且無使用限制。下一篇將探討讓 Grails 應用支援行動裝置,敬請期待。