雖然 Borland C++ 3.1(BC31)是 90 年代的經典編譯器,但許多學校教學仍指定使用,目的是讓學生體驗「手動管理專案結構、編譯連結流程」的底層細節。本教學將完整記錄:工作目錄規劃、目錄設定、建立專案、三種加入原始檔方式、標頭檔管理、輸出目錄分離、以及跨目錄專案架構的實作步驟。
請勿將程式碼直接放在 C:\BORLAND\BIN。請在虛擬 C 盤(DOSBox 掛載的 DISK_C)根目錄建立專屬資料夾,例如 C:\test,並依專案規模再建立 source、include、obj 子目錄。
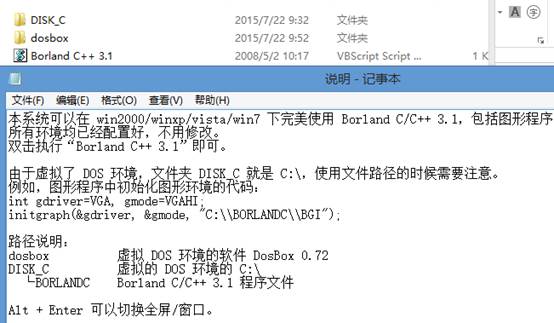
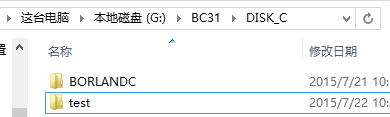
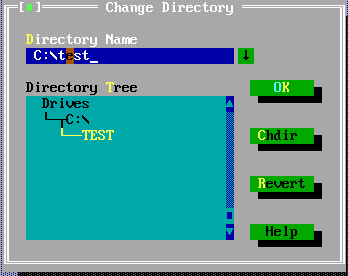
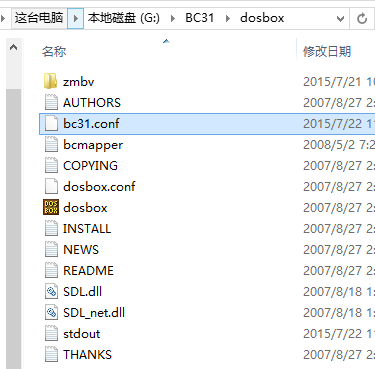
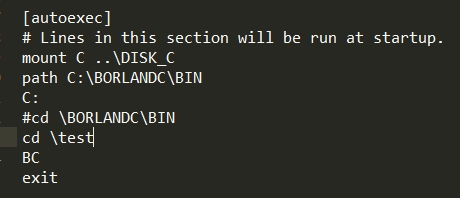
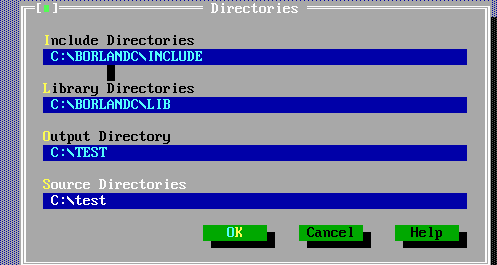
File > Change Dir...,輸入 C:\test。bc31.conf,將最後幾行的 cd \BORLANDC\BIN 註解掉,改為 cd \test,重啟 BC31 即永久生效。Options > Directories:
C:\BORLANDC\INCLUDE(保留預設)C:\BORLANDC\LIB(保留預設)C:\test\obj(存放 .obj、.exe 等中間檔)C:\test\source(存放 .c、.h)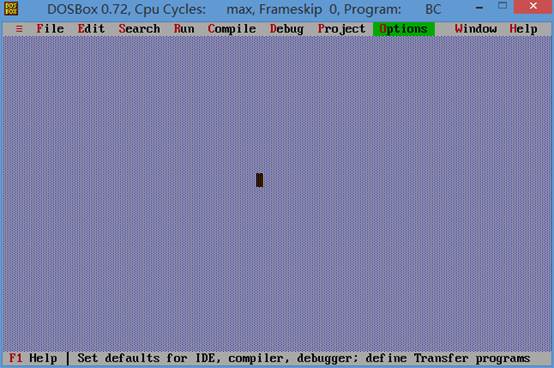
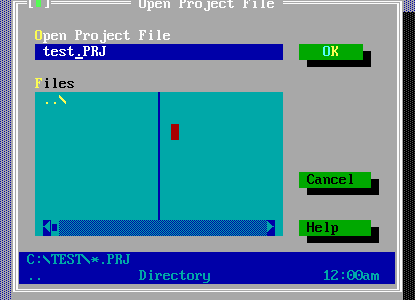
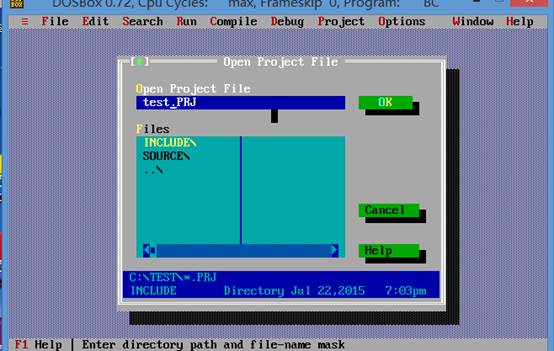
Project > Open Project...,輸入專案名 test.prj,儲存於 C:\test。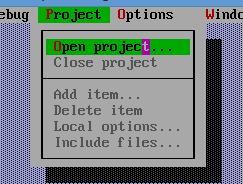
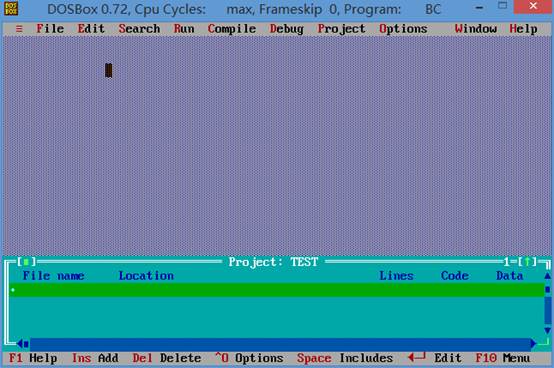
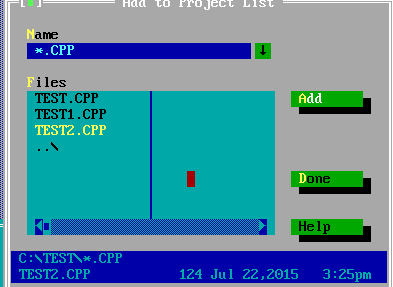
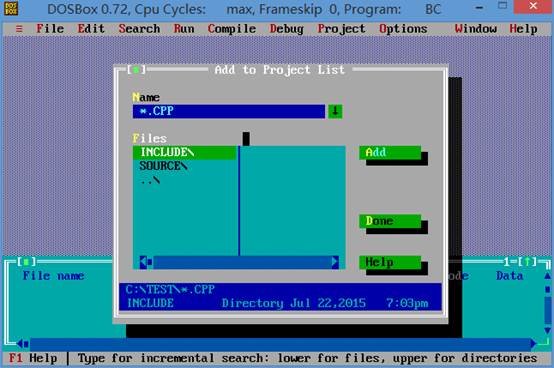
File > New 建立新檔,撰寫程式碼(如 test.cpp 實作加法)。File > Save 儲存至 C:\test\source。Project > Add Item,選取剛存好的檔案,點 Add 後按 Done。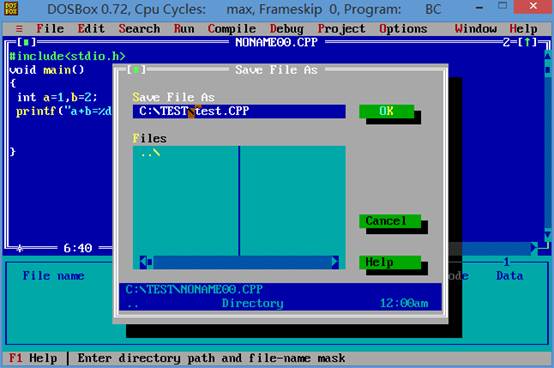
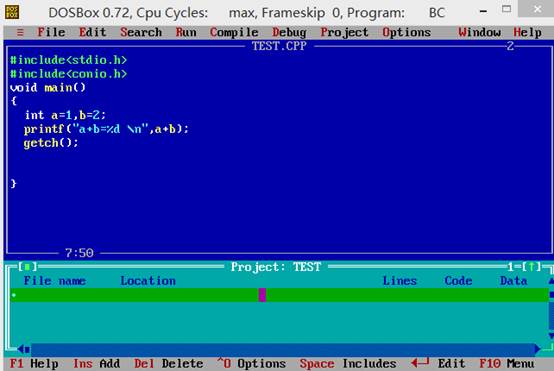
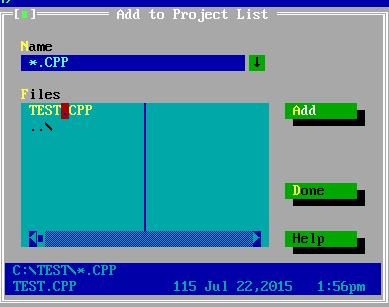

Project > Add Item,直接在 Name 欄輸入檔名(如 test1.cpp),點 Add。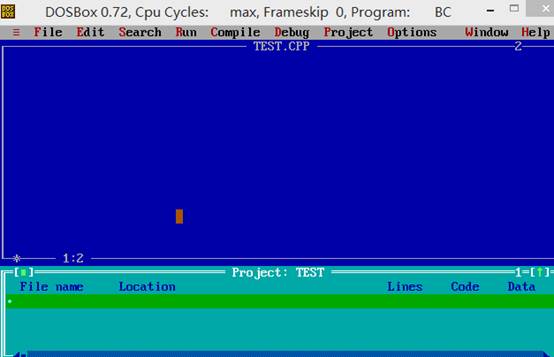
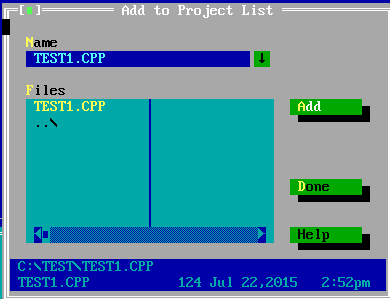
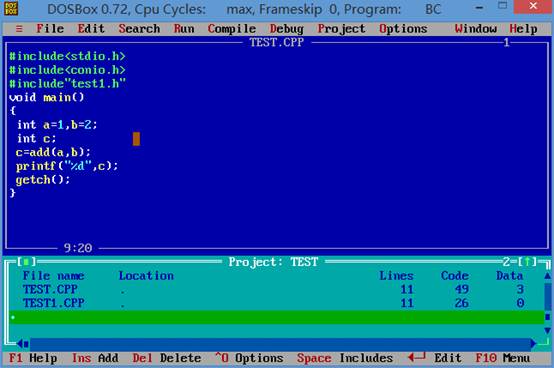
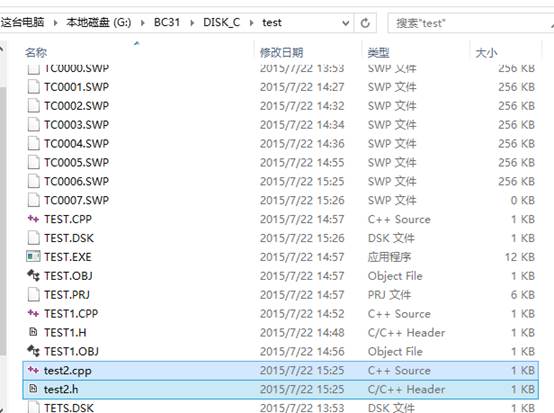
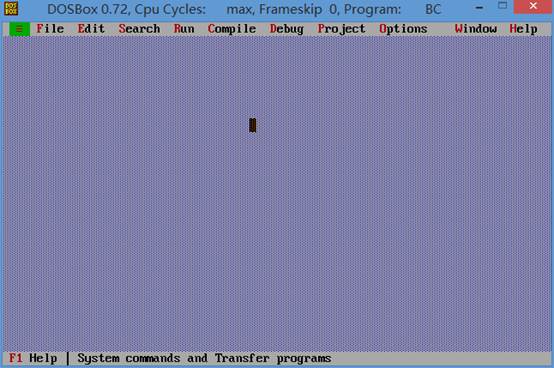
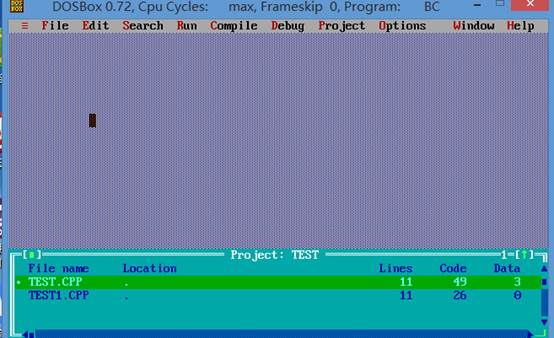
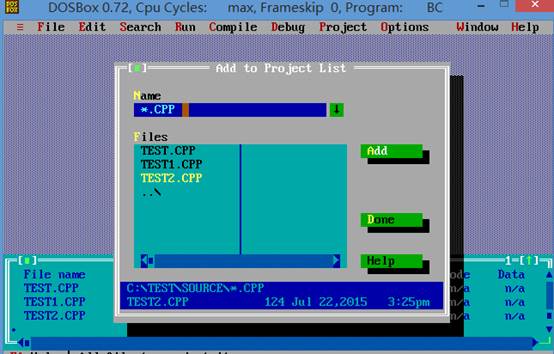
test2.cpp、test2.h 等檔案,存入 C:\test\source、C:\test\include。Window > Project 顯示專案視窗。Project > Add Item,BC31 會自動列出目錄下的檔案,直接加入即可。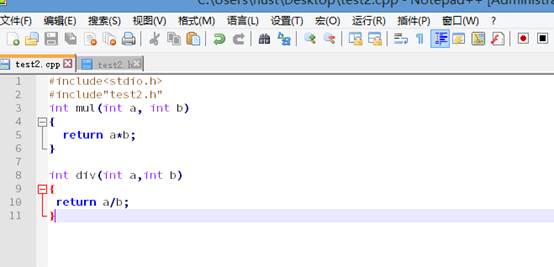
/* test.cpp - 主程式 */
#include <stdio.h>
#include "test1.h"
#include "test2.h"

int main() {
    printf("Add: %d\n", add(3,5));
    printf("Sub: %d\n", sub(10,4));
    printf("Mul: %d\n", mul(6,7));
    printf("Div: %d\n", div(20,4));
    return 0;
}

/* test1.h */
int add(int a, int b);
int sub(int a, int b);

/* test1.cpp */
#include "test1.h"
int add(int a, int b) { return a + b; }
int sub(int a, int b) { return a - b; }

/* test2.h */
int mul(int a, int b);
int div(int a, int b);

/* test2.cpp */
#include "test2.h"
int mul(int a, int b) { return a * b; }
int div(int a, int b) { return a / b; }
關鍵點: 自訂標頭檔引用需用雙引號 #include "test1.h",表示從目前工作目錄或原始碼目錄尋找。
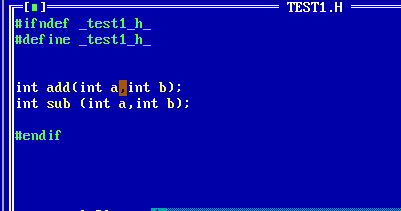
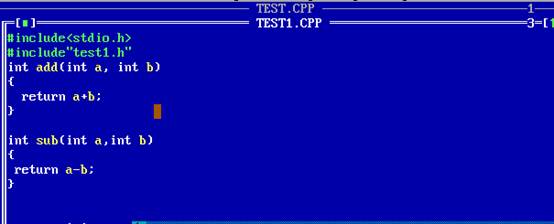
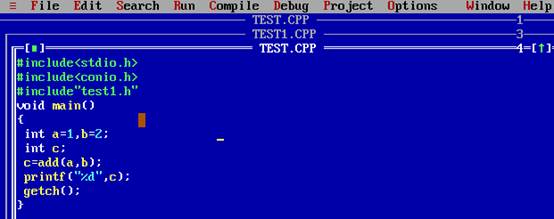
實務上將 .c 放 source/,.h 放 include/。此時編譯會報錯「找不到標頭檔」,解決兩種方法:
#include "../include/test1.h"C:\test\include(推薦,不侵入原始碼)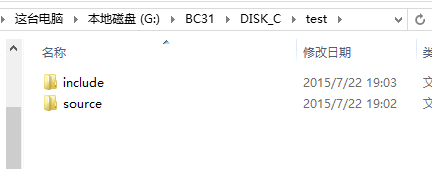
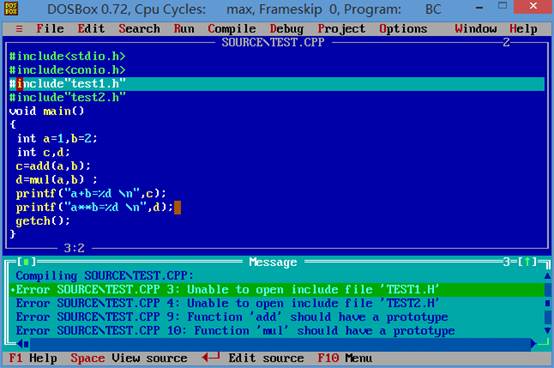
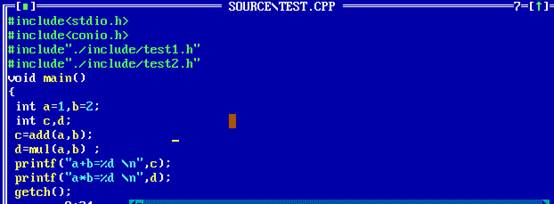
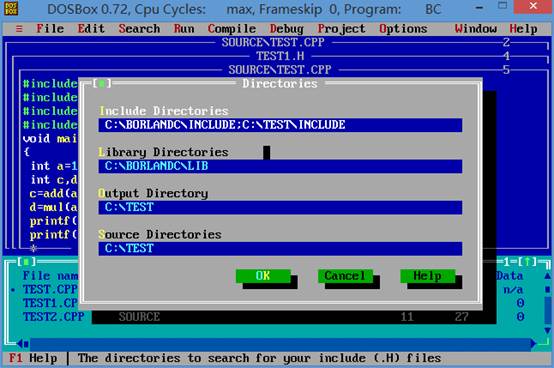
💡 核心觀念: 「程式是死的,路徑不告訴它,它就找不到。」無論是標頭檔、資源檔、資料檔,所有涉及路徑的設定都必須明確指定,這是從 BC31 到現代 CMake、VS 專案通用的鐵律。